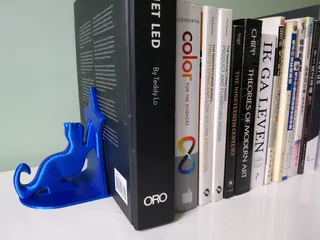
Chester the Curious Catstruder
Description
PDF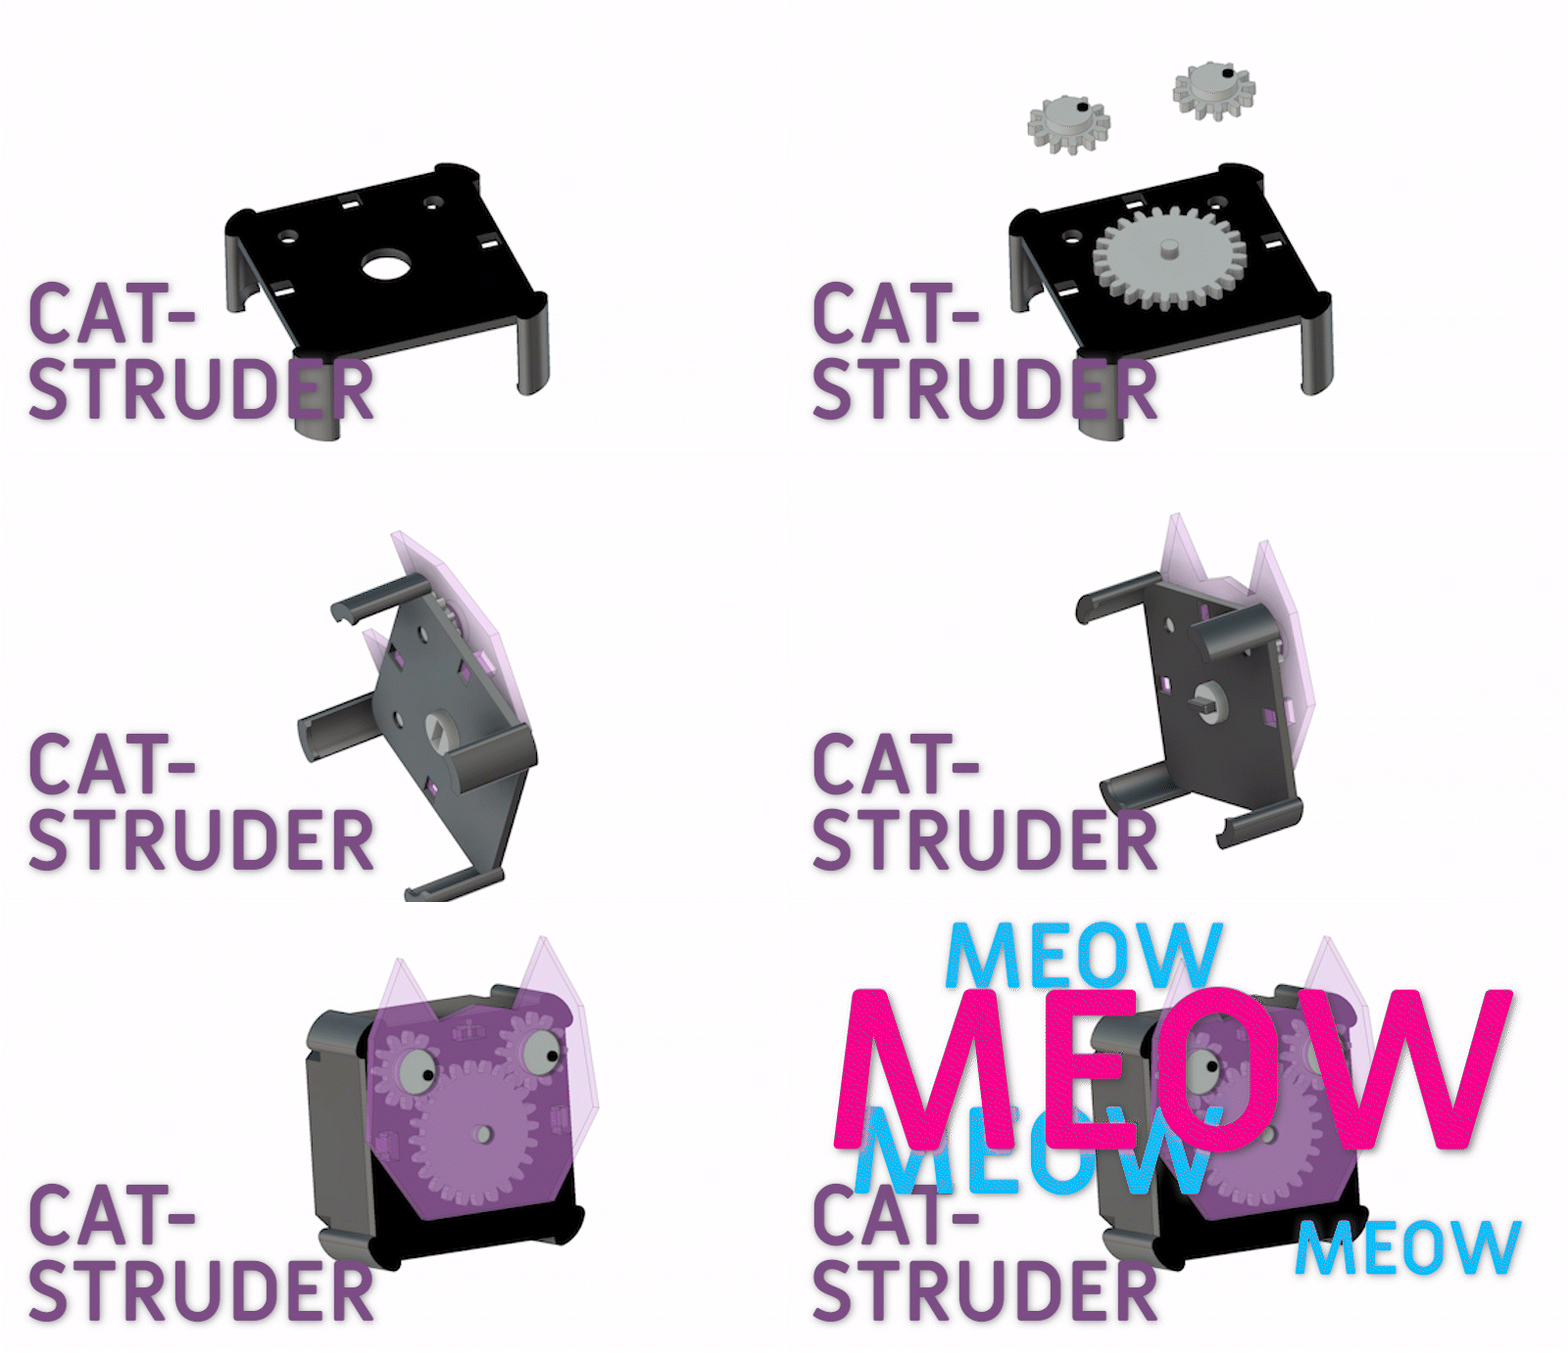
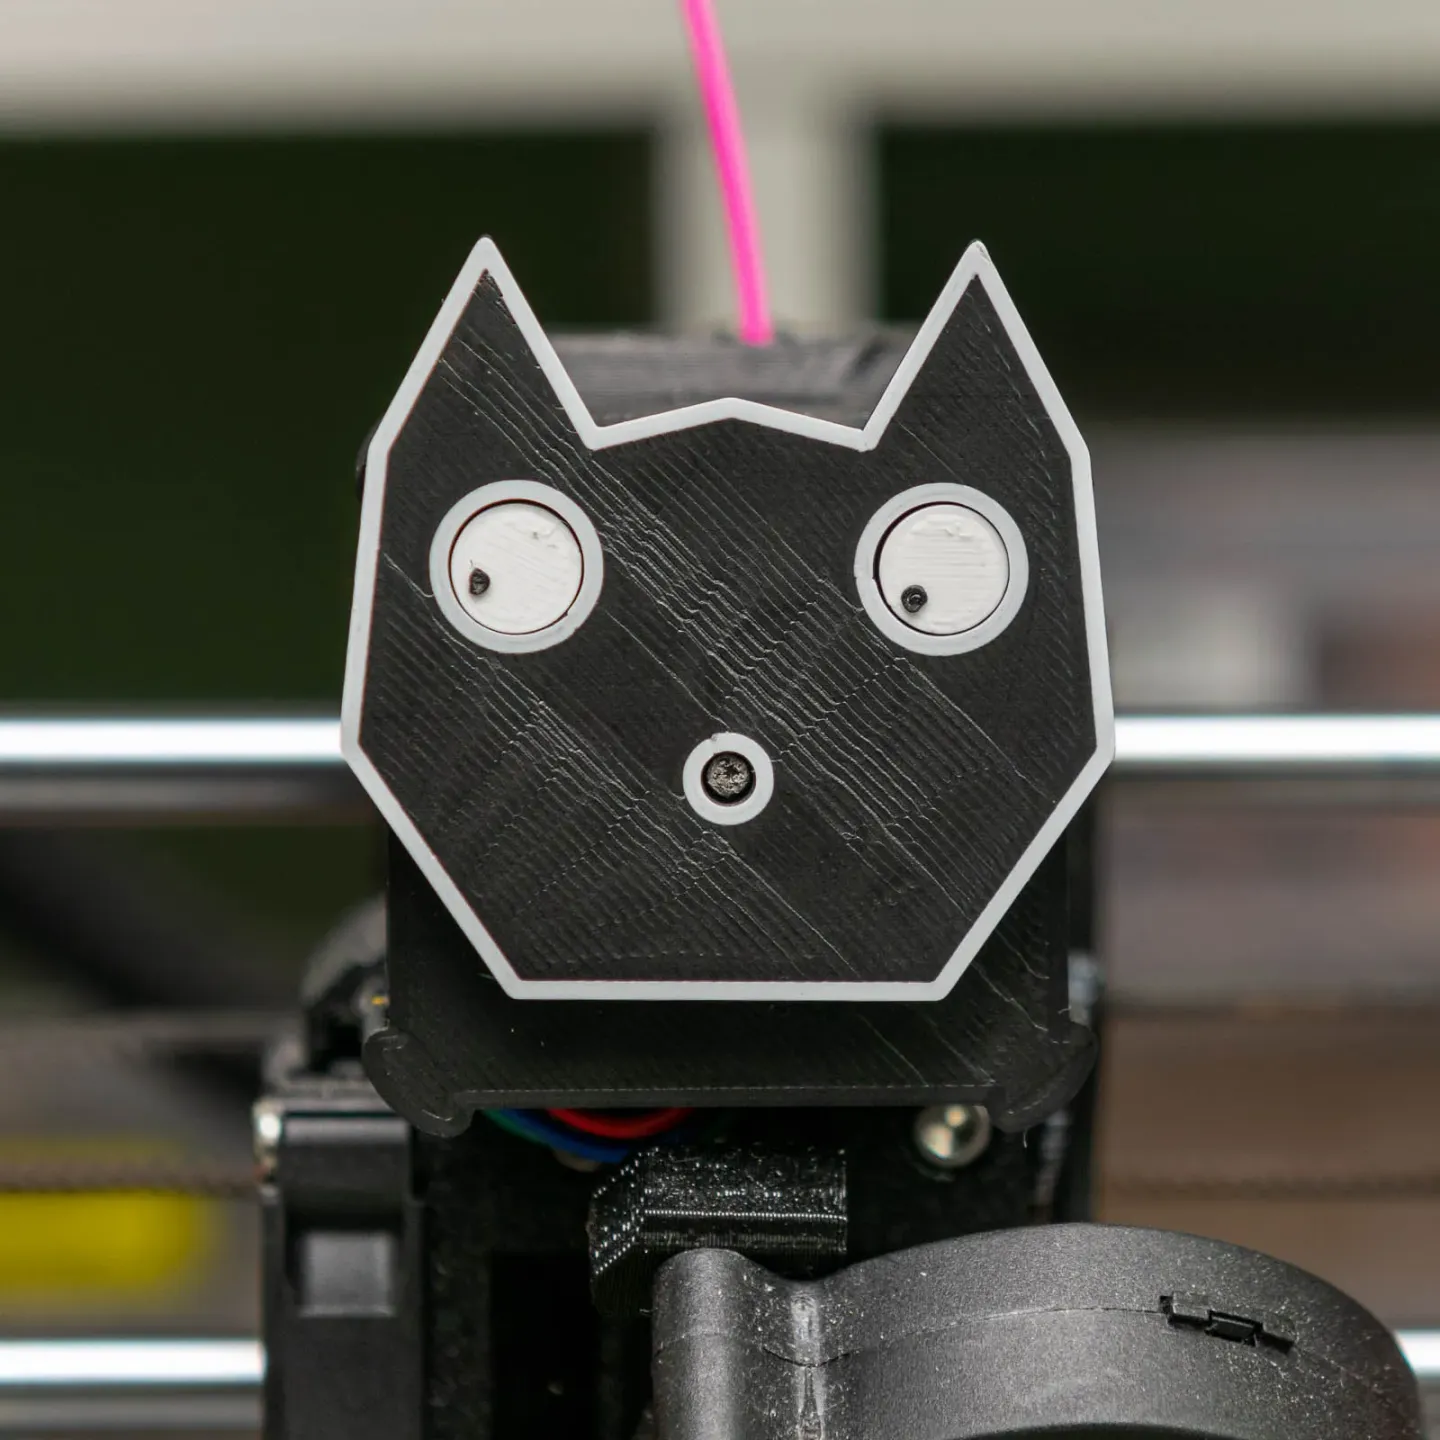
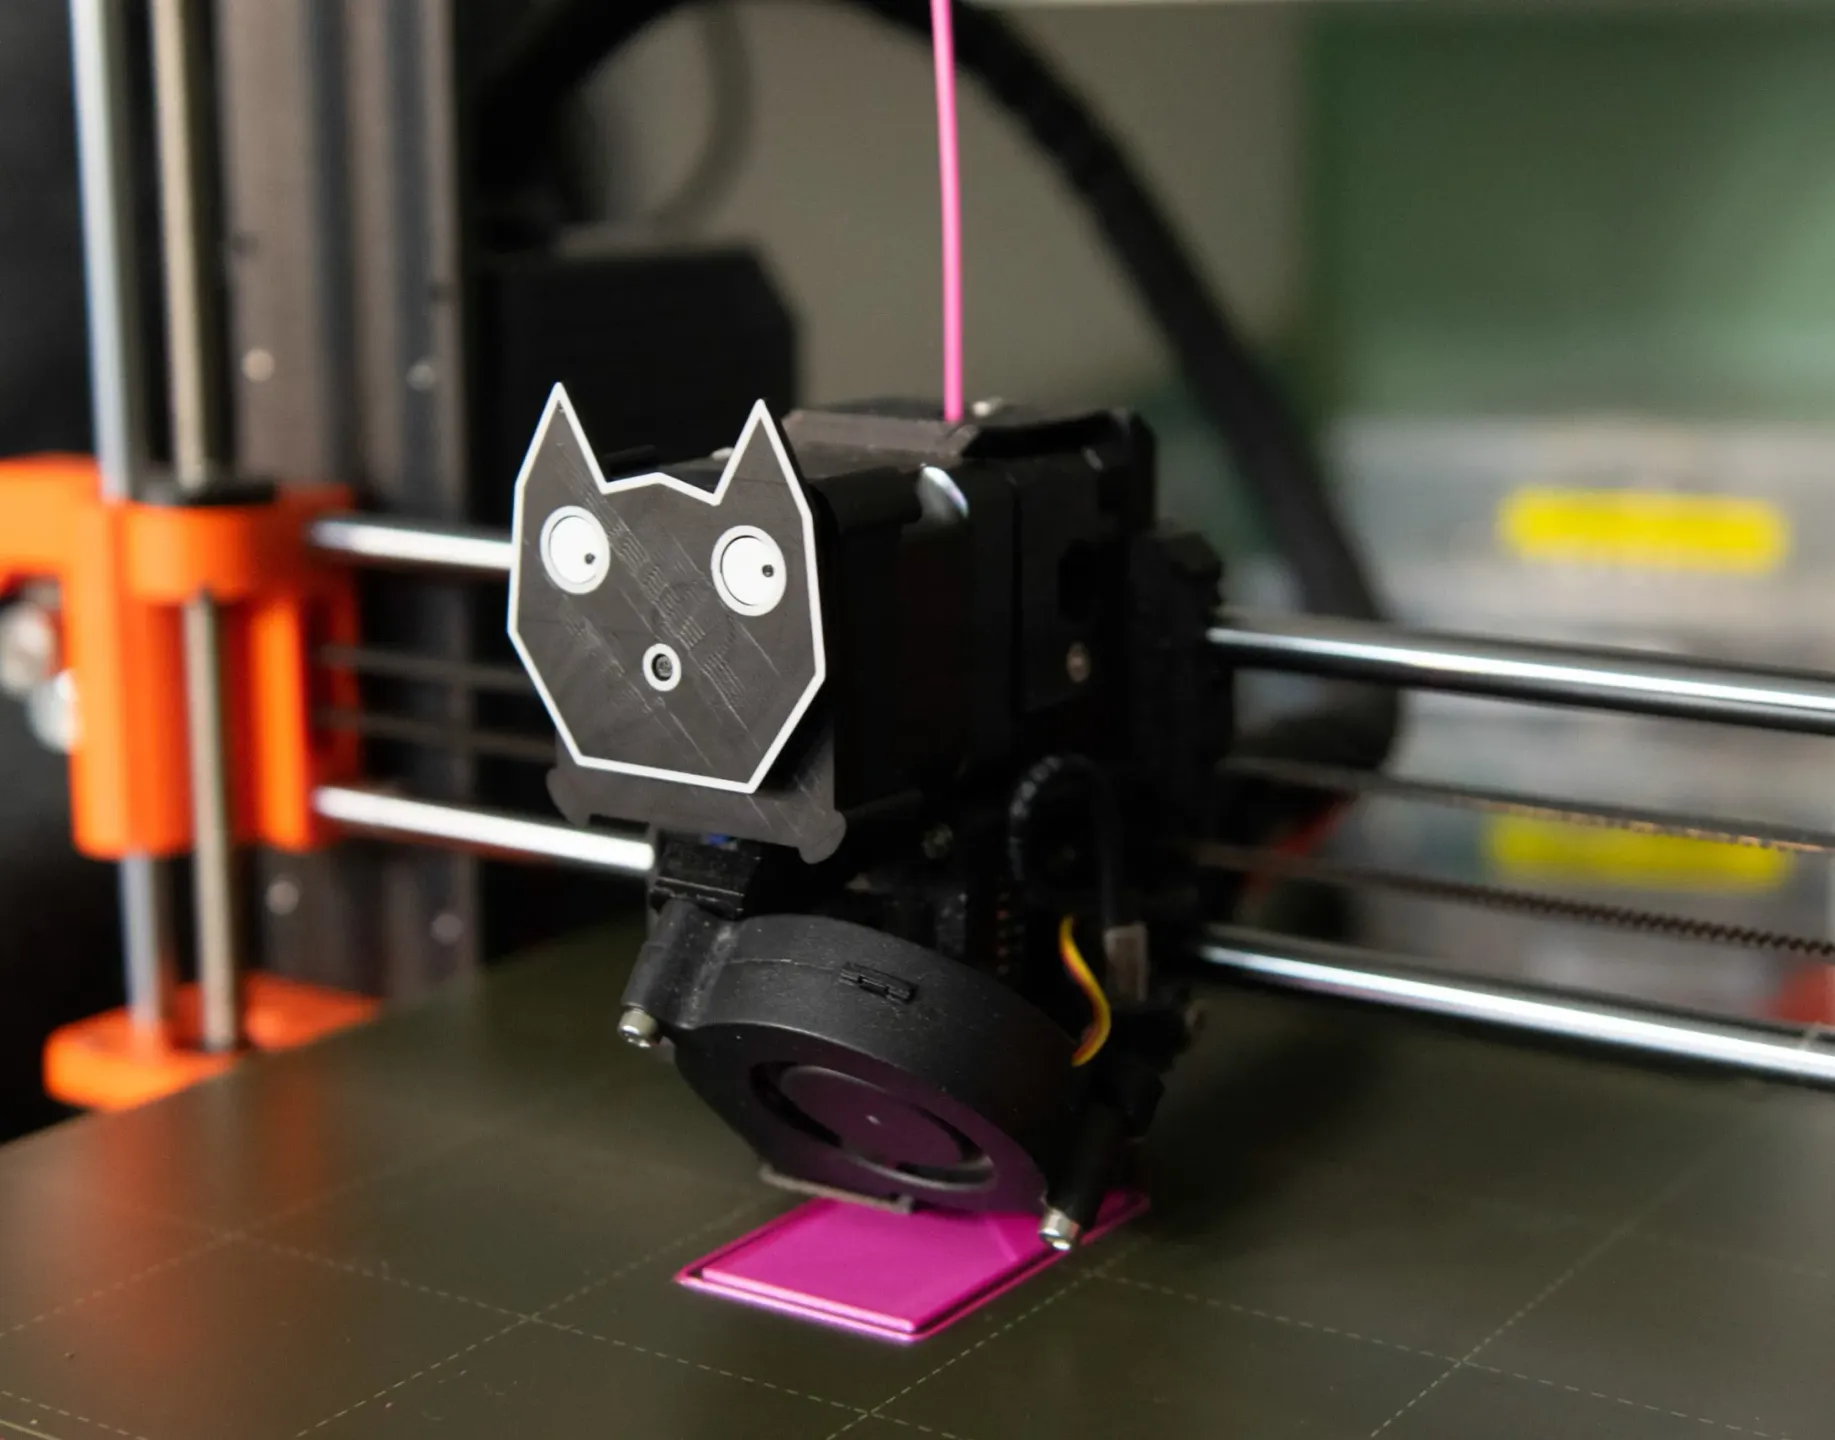
Chester is a 3d-printable add on for your 3d printer, with geared eyes that spin when your extruder moves! The only non-printed part that you need is a small magnet.
Required Parts
You will need:
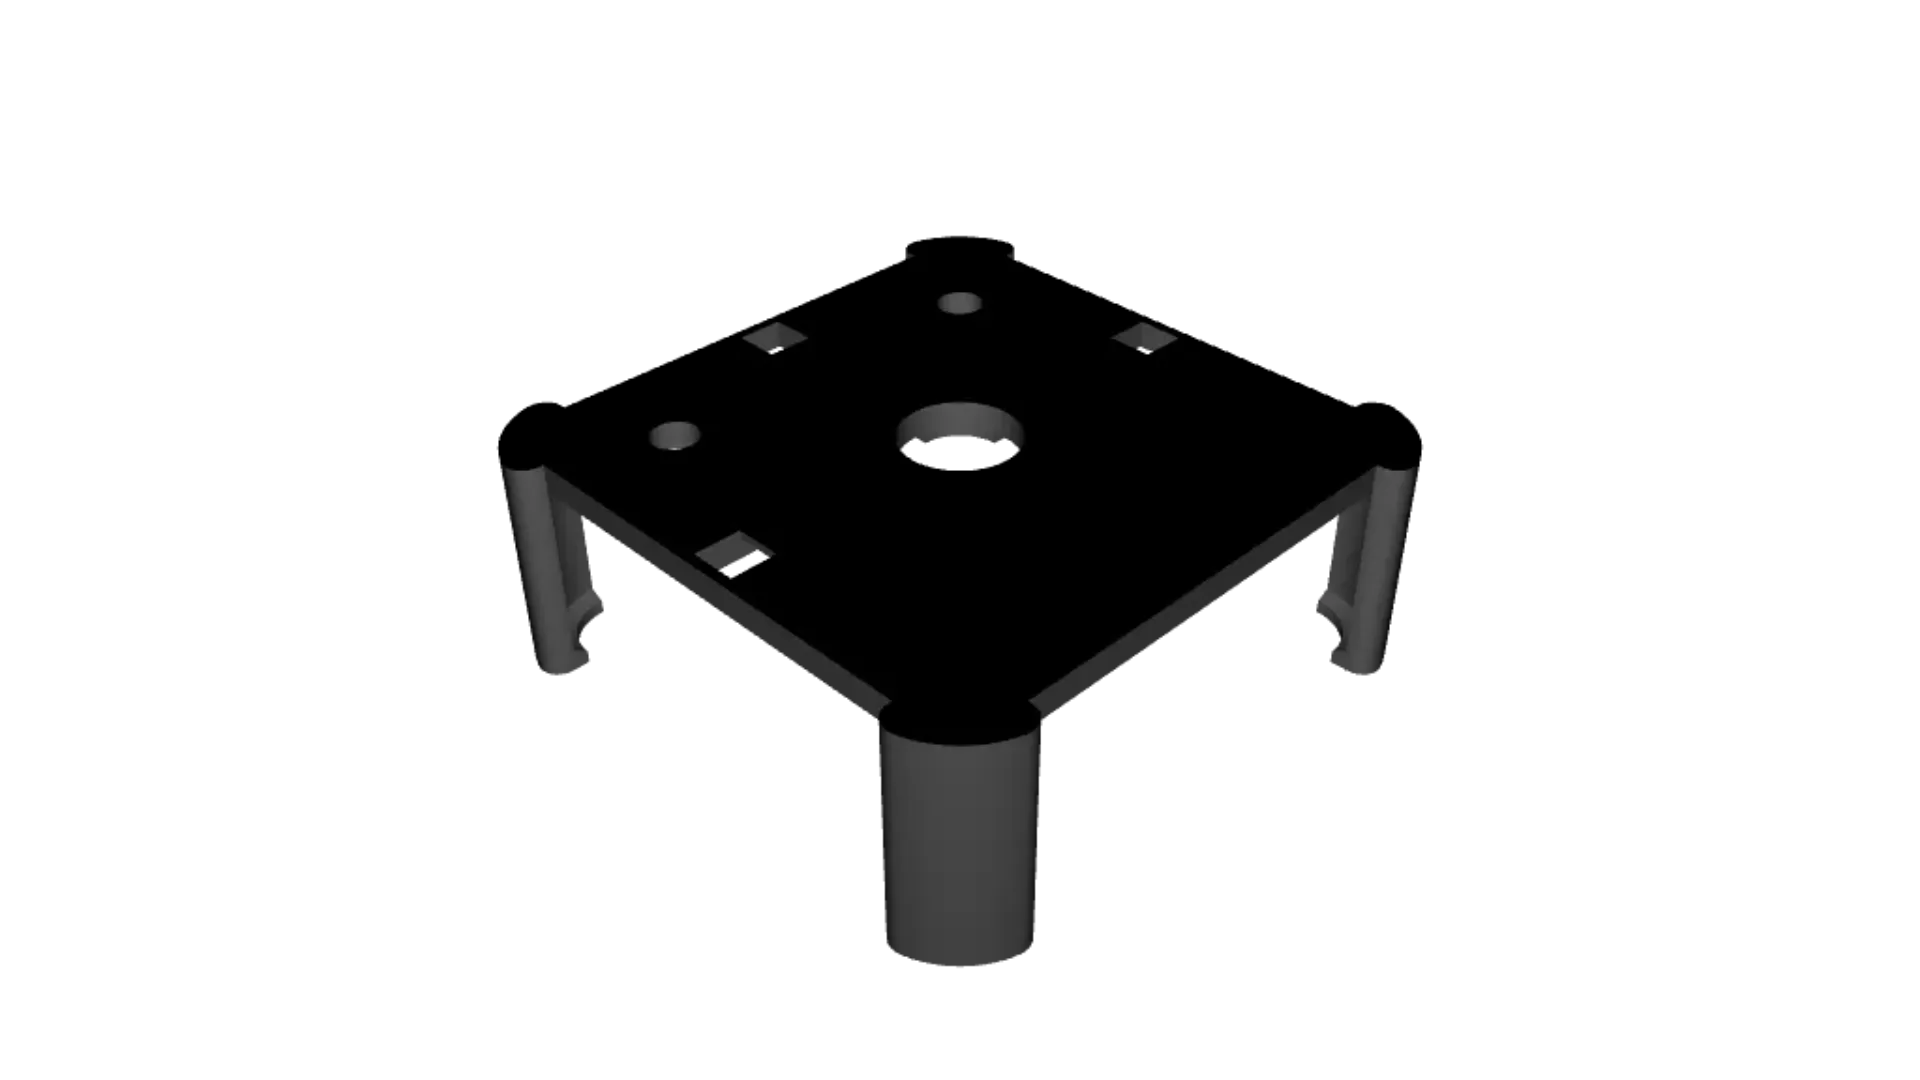
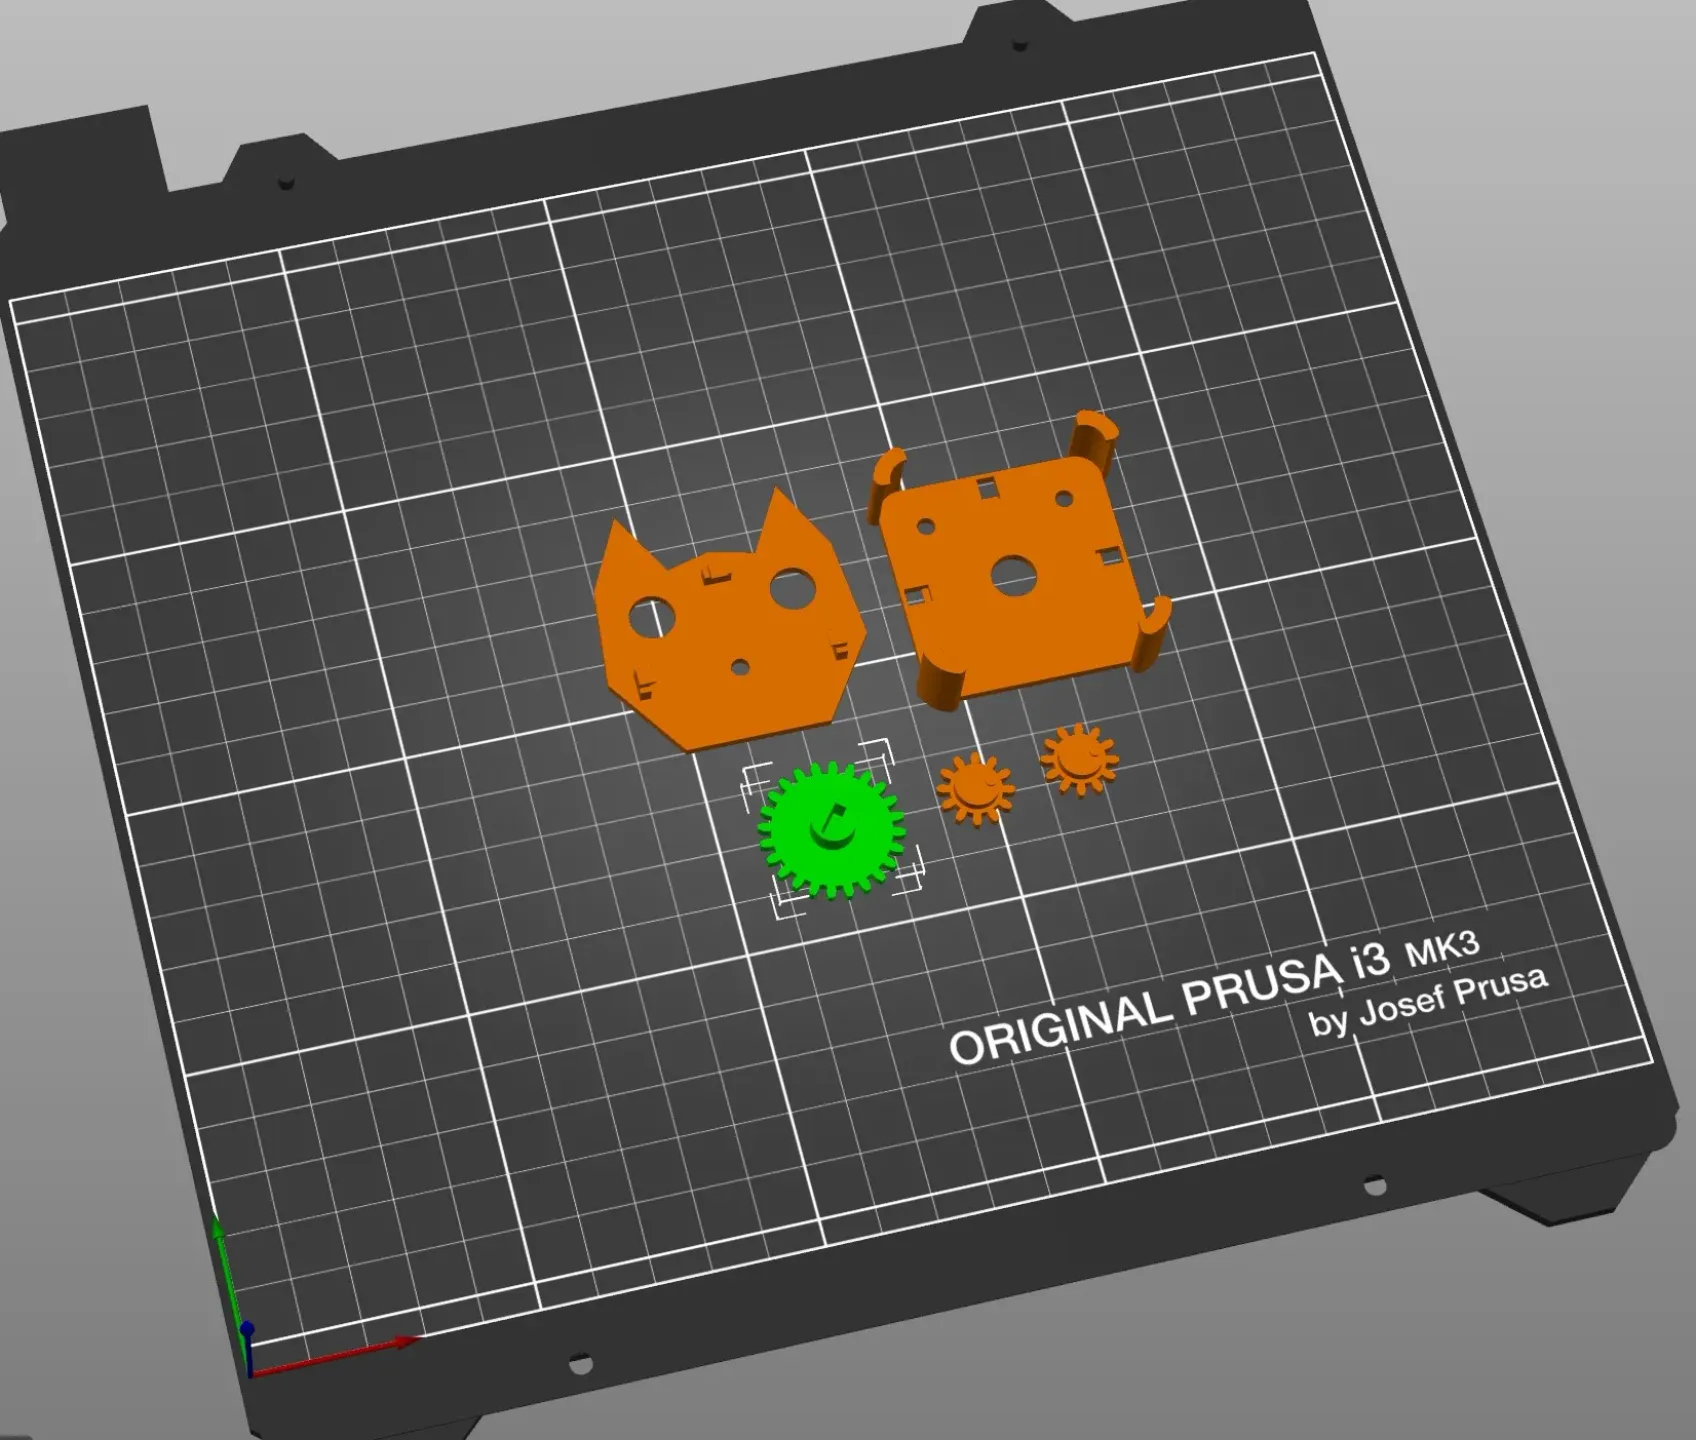
- 1pc backplate
- 1pc faceplate
- 1pc nose gear
- 2pc eye gear
- 1 strong magnet, approximately 6x2x5mm. I took one of the ‘spare parts’ magnets that came with the Prusa MK3S+, and broke it in half to fit.
- Optional: Some AB epoxy, in case the clips break or don't fit together quite perfectly ;-)
Printing tips
I printed all of the parts using a 0.2mm layer height, using the Prusa ‘’0.2mm SPEED" profile. The eye gears should be printed with the eye side facing up, and the nose gear should be printed with the nose side facing down. Note that I didn't print everything at once- the front plate and eye gears were printed separately, in order to add color effects.

I printed all of the parts using a matte black PLA filament, with color detailing on the eyes and faceplate using a white PLA filament.
To add color to the eyes, I used the layer color change feature in PrusaSlicer, and manually swapped the filaments mid-print when prompted:

For the white outline on the cat face, I used my ‘gingerbread man’ technique. This requires slicing the model, then editing the GCODE so that there is a color change in between the outline and fill sections of the bottom layer. Here's a tutorial I made to explain the process:
Of course, both of these techniques are optional- another easy way to add some color is to paint the eyes after printing.
Assembly tips
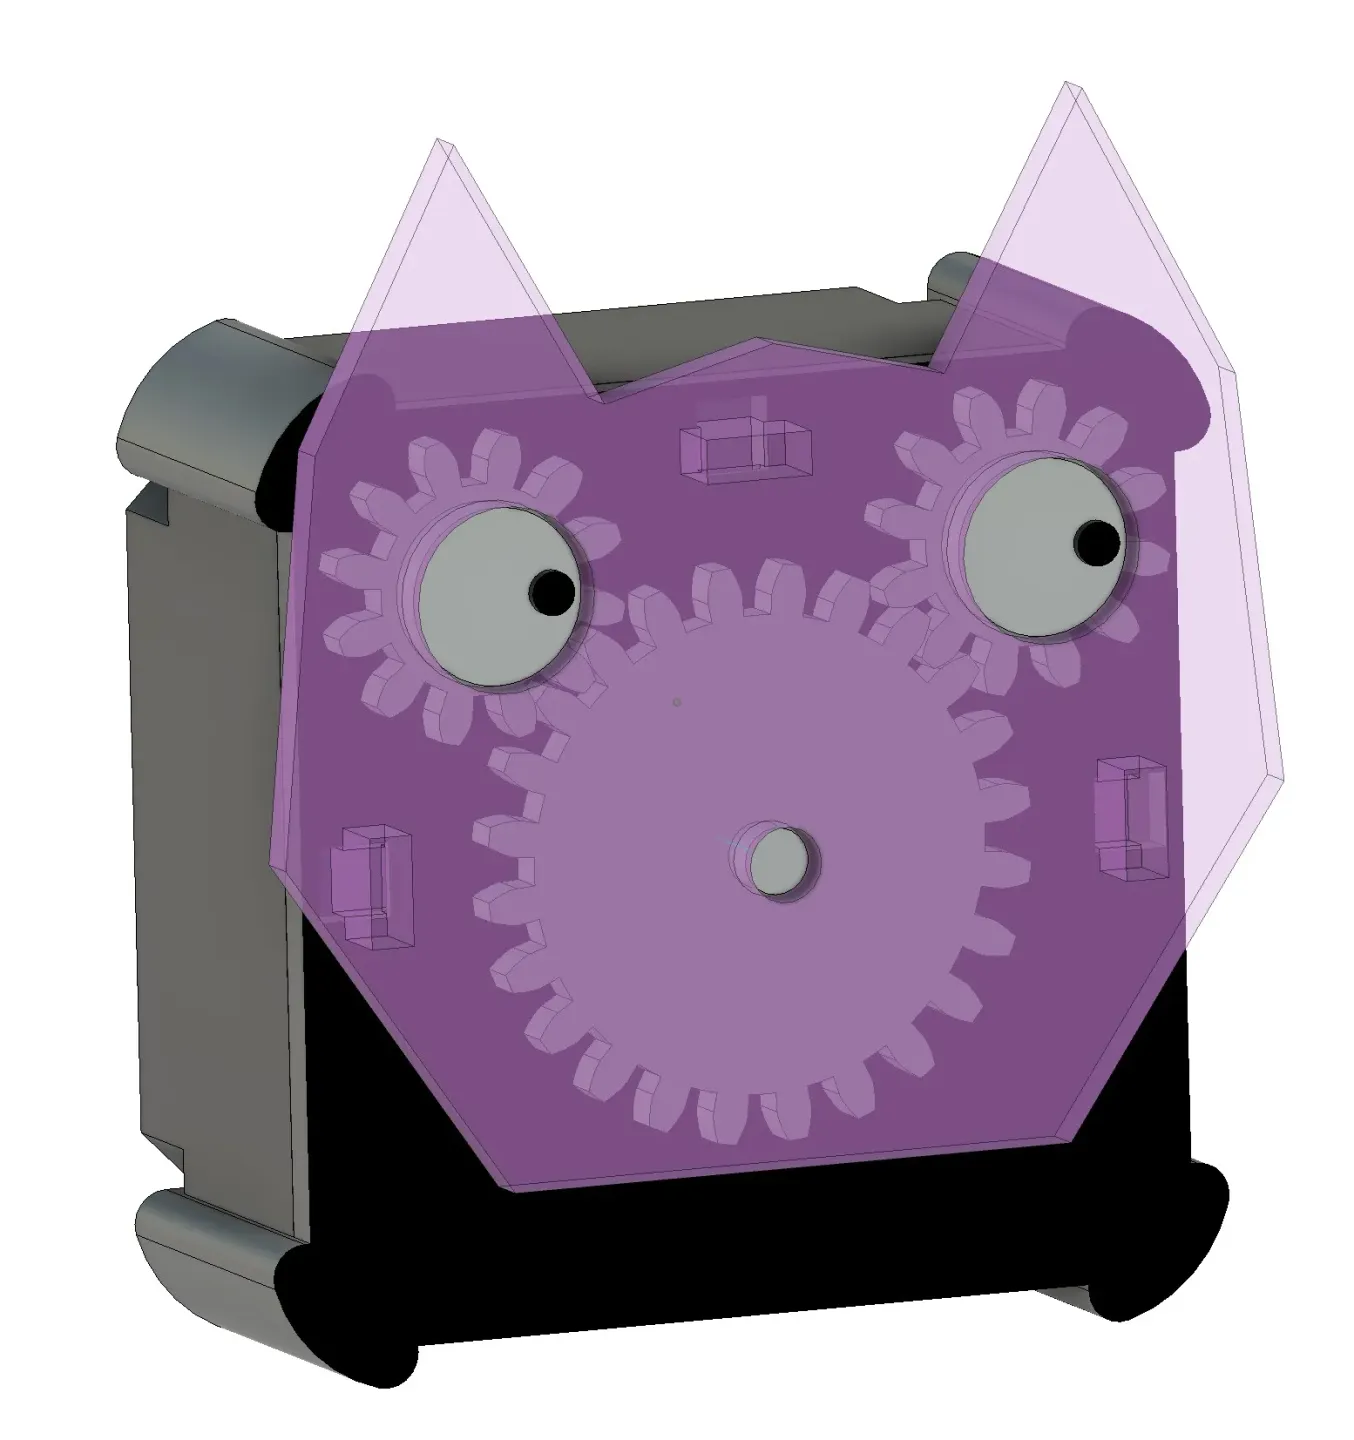
The parts fit together like this:
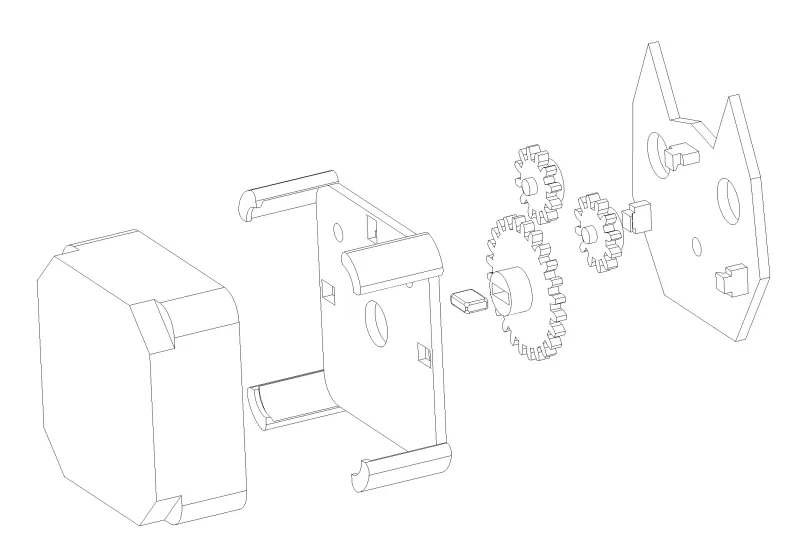
Before assembly, be sure to clean up the gear shafts and holes, since even small amounts of friction here will cause the eyes to stick in place. The magnet isn't very strong! The gearbox was designed to be fairly loose. The clips on the front plate are slightly oversized, so I sanded them down a little before sticking them into the backplate. If the front plate is too loose or rattling, a couple dabs of epoxy can be placed on the clips between the front and back plate, to hold the gearbox together more rigidly.
Tags
Model origin
The author marked this model as their own original creation.
