Ikea Samla 45l Filament Buffering Dry Box V2
Description
PDFSummary
Smart Dry Box designed for the Ikea Samla 45l box. It supports 6 spools, each buffered by a fully enclosed wheel buffer utilizing the complete box height. Spools, Buffers and Desiccant containers all can easily be loaded from the top of the box for ease of operation.
Update V2:
- Reworked the upper parts of the desiccant bins so that they take a more stable and functional snap-on lid instead of a screw-on lid of V1.
- There has been some feedback about how to print the desiccant bins. Print tipp for that is to load the complete print bed ‘Desiccant Box v2 (all).3mf’ file into Prusa Slicer. Then all the cutouts are already defined, positioned and have the right attributes attached for the slicer.
Main Characteristics
- Uses Ikea Samla 45l as base box as it is quite cheap and available almost everywhere.
- Fits at least 5-6 standard 20cm spools supporting a complete MMU setup.
- Only requires opening the box when running out of filament of a spool (and hopefully not for clearing filament jams) or rarely for refreshing desiccant material. Especially do not need the box to be opened for changing filament at the MMU or rewinding of filament onto a spool for clearing a buffer. Thus the filament buffers are located in the box itself, which lead me choose the 45l Samla box, as the often used 22l box is too small for also holding the buffers for each filament path.
- Allows loading of each spool from the top.
- Adapts to variable spool width.
- Allow snapping in of each buffer from the top so that you can easily load it with filament and check correct filament guidance just in front of your face without the need of fiddling inside the box.
- Allow placing the desiccant box(es) from the top without disturbing the spool or buffer operation at all. Also don't fix it to the box lid for easy opening and closing of the box with the lid.
- Maximizes filament buffer capacity by using a buffer that utilizes the complete box height and thus can buffer not only the filament retraction from extruder to MMU but from extuder through the MMU until the outer wall of a printer enclosure, where filament changes happen. It easily buffers ~65cm filament.
- Needs as few as possible drill holes in the box (only 1 for each spool slot) for airtightness.
- If possible need only few non-printed but standard material that is easily available.
Parts and Function
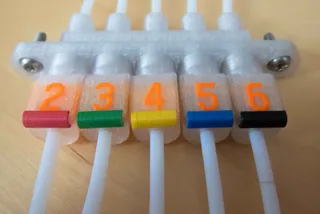
The whole box consists of box interfaces screwed to the Samla box using PC4M10 fittings and printed washers. No additional screws are needed. The inside part of the interface allows to slide on a fully enclosed wheel buffer that sits on a buffer plate. The buffer uses the complete box height for two filament loops. This allows comfortable buffering of ~65cm filament. The filament is then directed with a short tube onto the spools that roll on 4 standard 608ZZ bearings each. The bearings together with their single or double holders can slide on rods that sit on the bottom of the box. The correct distance of the rods to the box walls for freely rotating spools are kept by cutouts in the dessicant containers that fill the extra space on the left and right side near the box holding insets. The desiccant containers are printed in two parts due to their height. A screwable lid allows for enclosing the desiccant perls.
Everything can be loaded/unloaded from the top of the box. Especially the removable wheel buffer allows to accurately control the filament loops in the buffer.
The overall filament need (excluding box clips) is about:
any color: 830g
preferrable white: 100g
preferrable transparent: 190g
total: ~1120g
Box Interface
The box interface consists of a specially shaped interface part for the inside that will be fixed to the box wall with the PC4M10 passthrough adapter as screw and the printed washer as sealing disc on the outside. Tubes passing the PC4M10 adapter end at the inner side of the box interface that only let filament pass through a 2mm hole. This inhibits sucking in the tube into the box if there might be a filament tangle on the buffer. This should not occur if you pay attention to fill the buffer with two filament loops without tangles.
The non-symmetric position of the tube hole on the spool side supports you in adding one loop after the other onto the buffer. Also this tube hole inhibits a sucking in of the tube in case of filament jam on the spool. Only the filament is pulled in through a 2mm hole.
The base plate and the box interface have a dove tail joint at the top where the buffer plate slides in from the top onto the box interface. That allows you to load the buffer outside the box itself, which is a great simplification for the right filament placing around the buffer wheel.
The box interface is designed for a ~4° angled wall box side so that the buffer tower is hanging vertically in the box. This fitted to Ikea Samla as well as my abandoned other boxes. I assume that this should fit to other non-100%-vertical box designs as well.
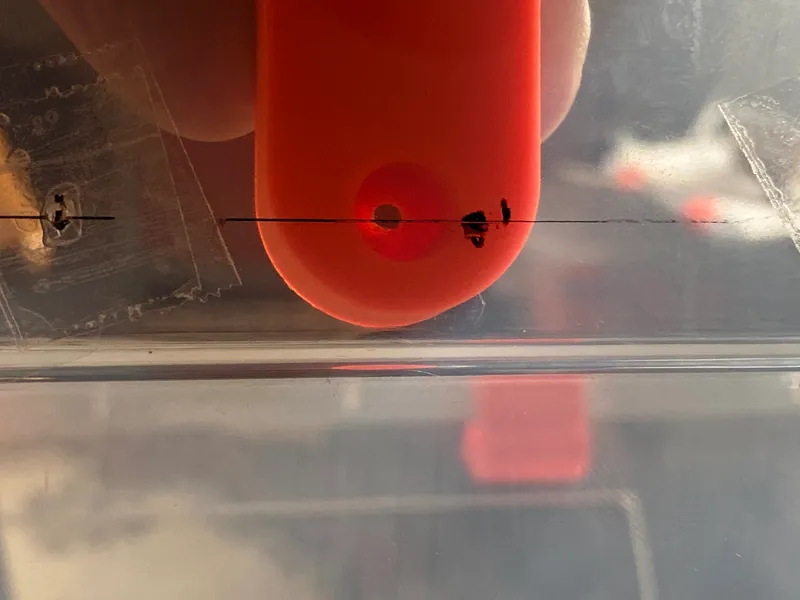
For drilling the holes for the interface parts, hold the inner part with the round end slightly above the upper rim of the Samla box as shown below. Mark the position of the hole.
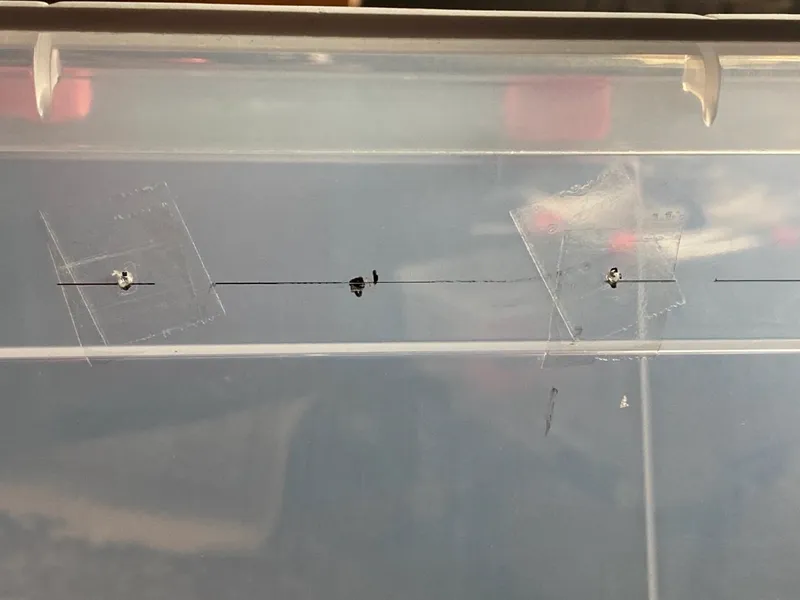
Then draw a horizontal line for vertical position of all other interfaces. Mark the mid point for finding positions of equidistant holes for the interfaces on this line.
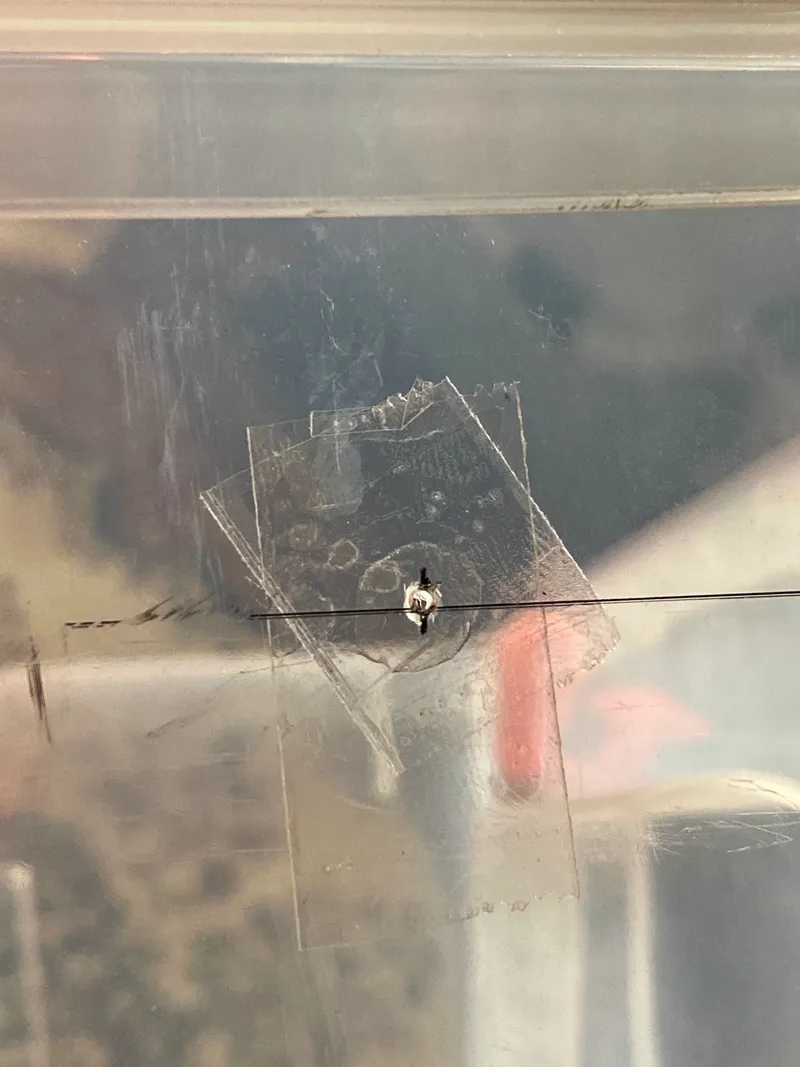
Before drilling use a transarent tape to avoid cracking of the Samla box.
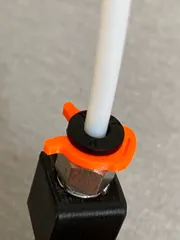
Before screwing together the Samla box check the ease of turning the PC4M10 passthrough adapter onto the box interface. Turn the adapter in box interface thread back and forth until you feel comfortable to screw it onto the box. You might want to use a pliers for this exercise instead of the printed washer disk.


Printing tipps: 15% infill, 0.15mm layer height for best thread quality, 3 perimeters, no supports. Lay down parts on print bed on the side that has contact to the box wall.
Filament Buffer
The filament buffer consists of a base plate that slides into the box interface from the top and the fully enclosed filament buffer that needs a 608ZZ bearing for the printed wheel.
Print in white or transparent colour for better positioning of filament on the wheel.
Depending on your dimensional accuracy it might be best to use a 2.5mm drill for the holes in the base plate and the buffer parts to allow comfortable screwing of the parts.
Also don't apply much force for sliding of the base plate onto the box interface so that you still can disconnect them. Do some sanding of the base plate dove tail and try again until it is still tight enough but also can be released without much force as you will need to do that for each filament load.
Push one 608ZZ bearing onto the printed wheel and put the wheel between the buffer parts. Then screw the parts together. Don't worry about centering the bearing on the axle as you still can move the bearing on the wheel after srewing together the buffer parts. Center the printed wheel on the axle by moving the wheel along the axle until can turn freely. Now you can screw the base plate onto the buffer and slide the buffer plate (with buffer) onto the box interface.


Printing tipps: 15% infill, 0.20mm layer height, no supports, 3 perimeters because of the drill holes
Usage Tipp
The routine for me exchanging spools in the dry box is like the following:
- Open your dry box by opening the clips and removing the lid.
- Now just take out the spool and the buffer by directly lifting them off. When you opened for replacing an empty spool both parts are unconnected. Even easier to take them out. When you're replacing a non-empty spool, obviously you have to rewind the spool in place pulling filament through tubes and buffer until the filament drops out of the buffer.
- For shortening the time during that the box is open I now bring back the lid on the box w/o closing the clips. With the spool and the buffer you have all you need to load the filament. Outside of the now closed box!
- Take your replacement spool or reloaded master spool and load the buffer. I'm using 2 loops.
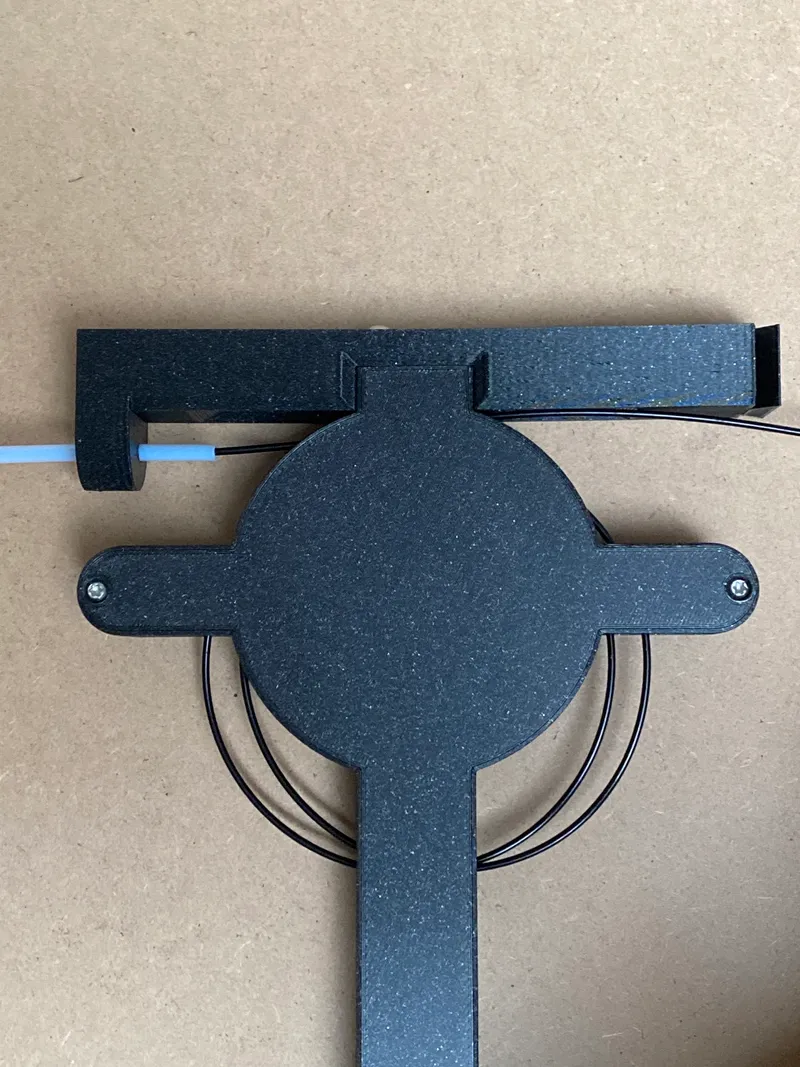
- Make sure you don't cross filament paths. All should look like the following with nice paths with incoming filament to the right, first loop in the middle, second loop with outbound filament to the left when looking from the box interface to the buffer.
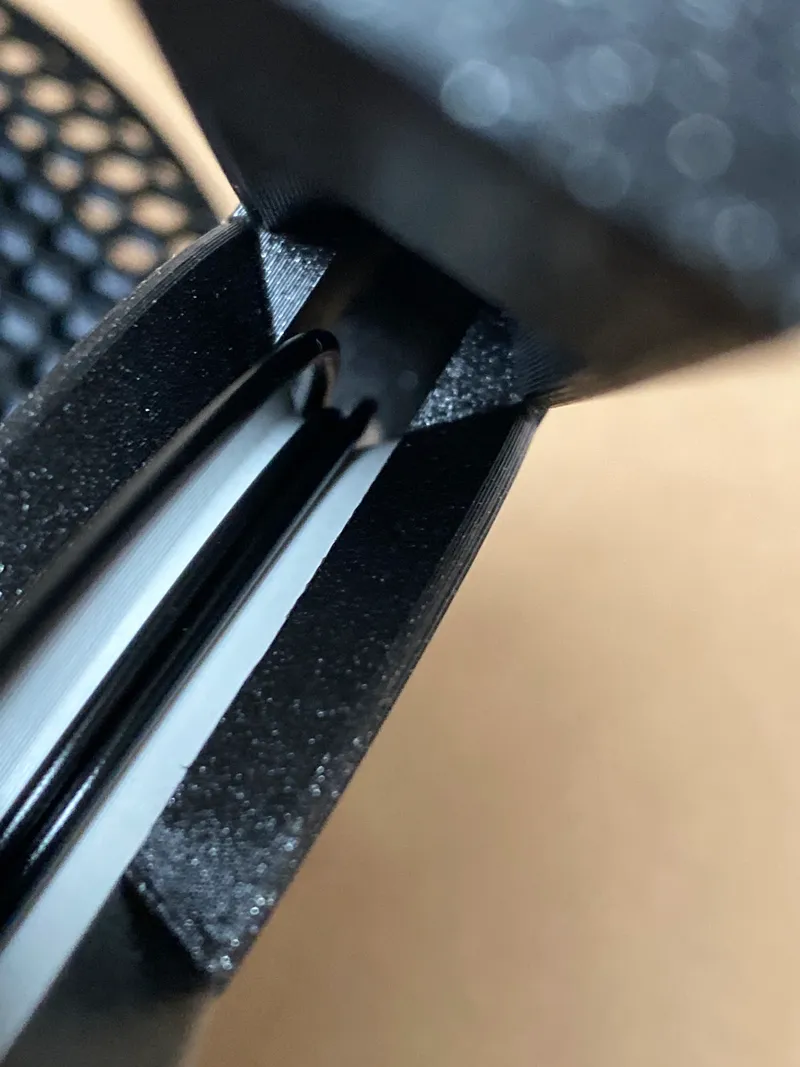
- Now you've got a full spool and a loaded buffer that you now can place back into your dry box.
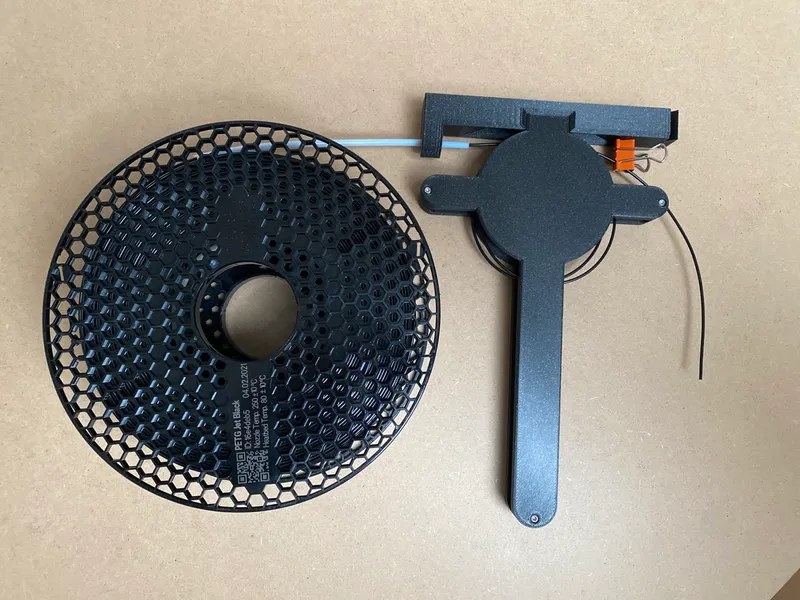
You will notice that the filament tries to rewind on the buffer when released, especially when the buffer is not fully loaded (like here on the image). I tip which one finger on the buffer wheel, which fixes the 3filament paths on the buffer. In parallel I keep some tension between spool and buffer for also avoiding tangles on the spool. - Remove the lid from your dry box, with the loaded buffer and the full spool in one hand.
- Place the spool on its rolls. I still try to keep some tension in the filament between spool and buffer now to avoid tangles on the spool.
- Now you can focus on the buffer and take the filament end and push back the filament through the box interface until it appears on the open PTFE tube. Still I try to keep tension on the filament paths which means having an empty buffer with tense filaments wrapping around the buffer wheel.
- Push back the amount of filament into the PTFE tube until you see it at the open PTFE tube outside your dry box plus the amount of filament that is needed to fill the buffer. When you miss to do that the filament will get pulled back onto the buffer wheel to some extent and you don't get the filament end any more outside your dry box…
- Put the buffer into the dry box interface. Better control the pulling in of the filament by holding it at the very end before you release your finger that still holds the filament wheel under control.
- Load the buffer by pushing back the filament until the buffer is fully loaded and you have still filament at the very end coming out of your PTFE tube.
- Close the lid of your drybox and put the clips back on.
- Ready to feed the newly loaded filament to your printer or MMU.
This method minimizes the time you have your dry box open to humid air. With the initial load of the two desiccant boxes of the dry box I'm now working over a year at constant humidity of 20% in 2 boxes.
Spool Holder
The spool holding system consists of 2 printed parts: single and double holders. The single holders are only needed at the left and right side of the box (2 bearings each). The double holders are used in the mid of the box for one spool on both sides of the holder (4 bearings each). Single and double holders take the standard 608ZZ bearings as moving pieces where the spools are rolling on.
Cut the 1m rod into 447mm and 497mm and slide the holders on it with the bearings snapped into the holders.
The desiccant box has a cutout for the backside rod to keep it in place.


Printing tipps: 15% infill, 0.20mm layer height, no supports, 5mm brim for PLA - no brim for PETG
Desiccant Box
The desiccant box consist of a lower and an upper part that will be glued together for a safe connection and a small screwable lid. I designed the box with solid walls. The air flow will be satisfied by infill modifiers that define the cutouts where the wall will be made of a gyroid infill pattern to allow air exchange. These modifier objects will have to be added to the solid box parts in your slicer to get the desired result. I tested quite a while to find the most suitable infill pattern and parameters for it. A 26% filled gyroid pattern showed the best result to me.
I recommend to print the box parts in transparent color for recognizing a colour change of silica gel perls inside.
Print two boxes, one for each side. Glue upper and lower half together and put into the Samla box to hold the backside steal rod in place. One box can hold about 450g of silica gel perls.


Printing Tipps: 26% gyroid infill, top=bottom=perimeter=0, fill angle 60° for modifier objects for walls and lid
Update V2:
Now the lids are snap-on and more stable than the original ones. So there are V2 versions of the upper bins and their respective lids.
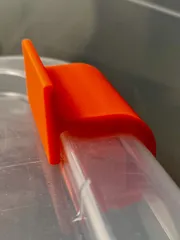
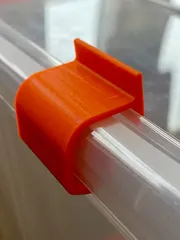
To put the lid on the bin, insert one end of the lid as shown here.
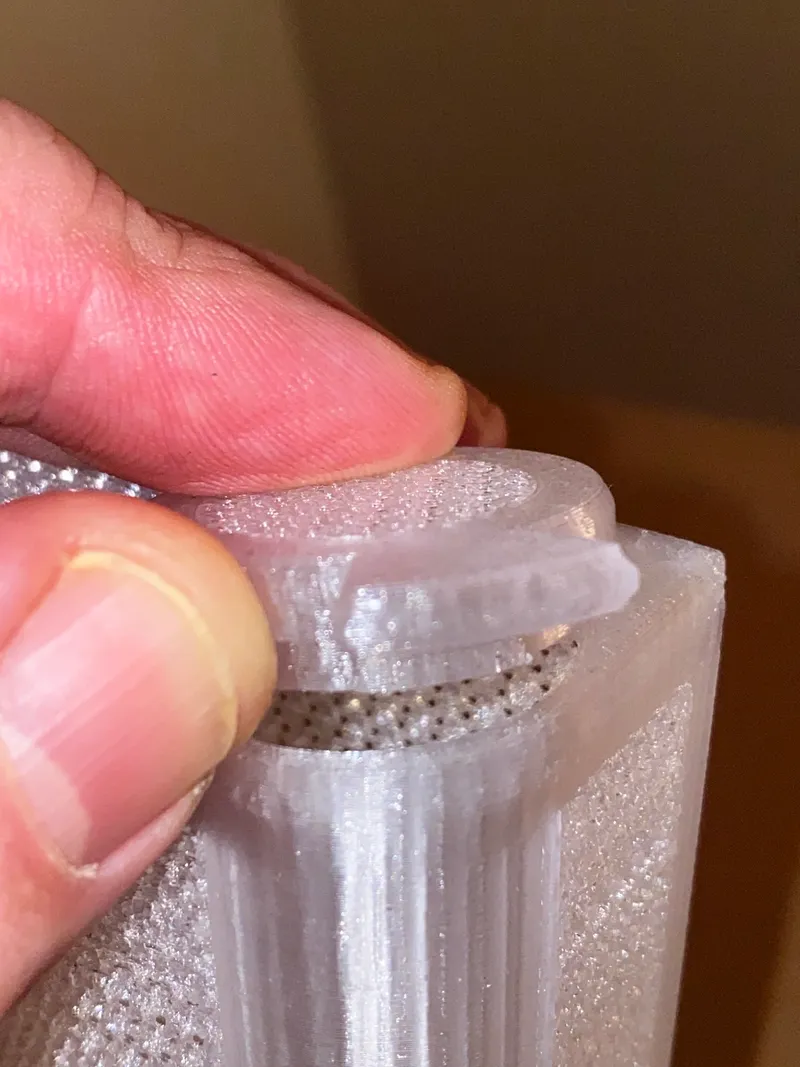
Then push the lid on the bin until snapping in.
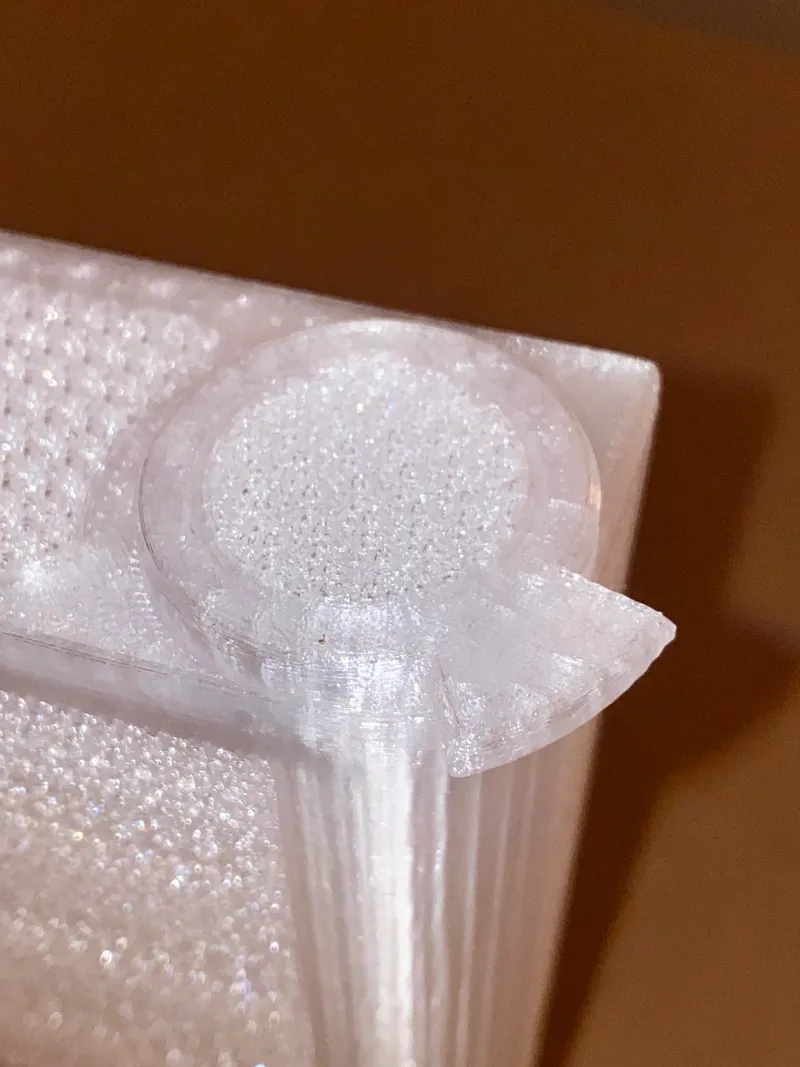
Turn the handle for easy take-off of the lid, so that the bin can slide into the box.
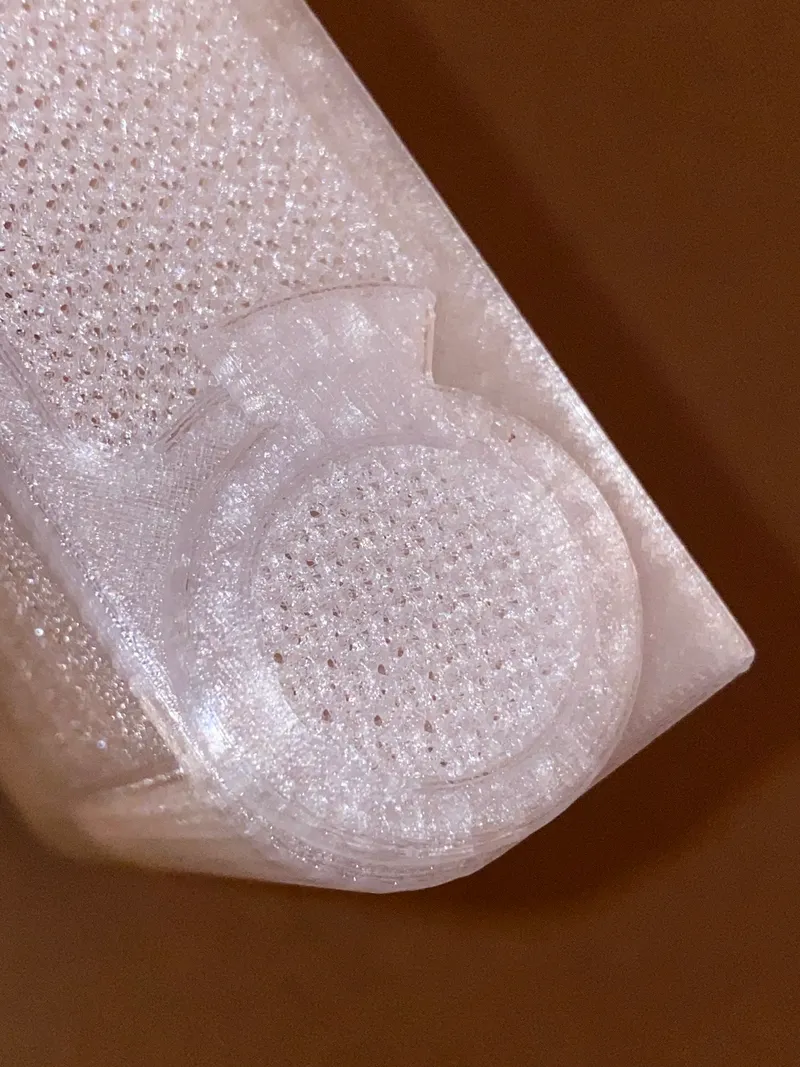
I'm pretty sure you can use the same lid with the V1 bins as well. Maybe you have to scale up the lid a bit. I suggest something around 101.5% in XY directions only.
Box sealing and clips
For sealing and the necessary box clips see my other project Never lost Ikea Samla Clip (45l + 65l) von Canislupus | PrusaPrinters or choose whatever clips you like most.
Remixed Projects
- Fully enclosed buffer halfs from Fully enclosed MMU2 wheel buffer with screw holes and PTFE clamp von ensoniq2k | PrusaPrinters
- Lid and thread from Silica Gel Container by ABH_ | Thingiverse
Directly Reused Parts
- The box clips from Never lost Ikea Samla Clip (45l + 65l) von Canislupus | PrusaPrinters
- The buffer wheel from Fixed Filament Buffer Wheel von Dash Lambda | PrusaPrinters
- Washer disk for PC4M10 from - Knurled PC4-M10 PTFE Drybox filament pass through von Antipode | PrusaPrinters
- Optional: The quick release screw for the 8mm rod from Minimalist Samla 22L and 65L Filament Storage von Dombi3D | PrusaPrinters
Related Projects
- Box design and initial dimensions from Ikea Samla box | GrabCAD
Non-printed Material
- 1 Samla 45l box
- 6 PC4-M10 passthrough adapters
- 1m (447mm + 497mm) of 8mm threaded steel rod (M8)
- 30 (5x6) 608ZZ bearings
- 30 (5x6) M3 16mm screws
- ~1.85m 6mmx3mm sealing foam
- ~4m PTFE tube (outer 4mm, inner 2-3mm): ~16cm from wheel buffer to spool + ~50-100cm from box interface to MMU unit depending on your setup
- Some drops of glue. I have good experience with PVC-U Plus glue.
- Optional: Bresser Weather Station. I don't care about a hygrometer display at the box itself as I can comfortably watch the current values of 4 sensors in a single display in parallel with this station.
Lessons Learned
- It turned out that the Samla boxes were more transparent than my boxes used before. So it was easier to more clearly see its contents without the need to open it.
- Fine tuning the joints and threads seems to be the most difficult part of assembly. The effort here depends on how accurately you calibrated your printer and filament. It's not a bad idea to have 2.5mm and 8.5mm drills available to clear out the holes for screws and rods.
- Originally I wanted to adapt the smart wall design of Fast Print In-Spool Silica Gel Desiccant Container but didn't want to program SCAD for the irregularly sized box. So I choose the infill pattern approach for printing the walls with rather few filament retractions. Unfortunately - due to the irregular walls of the box - the non-vertical sides show some Moirée effect because the infill pattern is shifted along the non-vertical walls. But the walls still look acceptable to me, are stable enough and allow for air circulation.
- The lids of the desiccant boxes needed some rework as they were too thin and screwing them wasn't working very well. So I posted update V2 for upper part of desiccant bin and the lid.
Tags
Model origin
The author remixed this model.


