Remix for improved silicone sock for E3d V6 hotends
Description
PDFThis is a remix of the great design of Stefan from CNC Kitchen. Please check it out and also his Youtube Video where he explains everything in great detail.
There are two main modifications:
- The casting process can be much much simpler with just two mold parts and no need for bubble traps or syringes
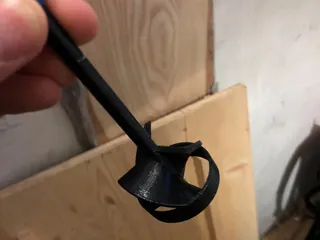
Improved fit with larger overlap on the top and a less "floppy" design You can print all the required tools yourself, e.g. use the mix cup&spatula set I made for this: Mix cup on thingiverse
The silicone material is the same as from the original posting from Stefan.
To prepare the mold, attach the mold insert with 2x M3x10mm screws and attach a M6 screw as a handle to the top of the insert. Then mix the silicone thoroughly and pour a bit onto one side of the mold. Wait until it sink in and slowly keep filling until the silicone rises to the top on the other side of the mold. This will take a few minutes so just be patient. once it is all filled up, pour the rest of the silicone in the remaining gaps and wait for the bubbles to rise. Then scrape off any excessive silicone with a spatula and let the silicone cure on a level surface.
After curing, cut the outline on the top with a knife or just use your fingers for this. Remove the M3 screws and pull out the mold insert with the M6 screw. Pliers come in handy for this. Use a knife to open the opening on the side. Then peel off the silicone sock from the insert and you are done! I uploaded a bunch of pictures but the process is really simple and fast.
Don't clean any liquid silicone spills or the tools but wait for it to cure since this is much easier.
This design works great for me and thanks to Stefan for the design and for sharing the Fusion files! His work is a great inspiration for me.
Print Settings
Printer Brand:
Prusa
Printer:
i3 MK3
Rafts:No
Supports:
Yes
Resolution:0.1mm
Filament: Das Filament PETG any
Notes:
Printing the mold with higher resolution will make de-molding easier
Insert needs supports, rest will work fine without supports Category: 3D Printer PartsTags
Model origin
The author remixed this model. Imported from Thingiverse.
Differences of the remix compared to the original
Simplified the mold and molding process.


