Sweet Maria's - "Popper is a Coffee Roaster" Replacement Knobs
Description
PDFThere is a known issue with the knobs on the Popper. If you twist too hard, the wall around the shaft (inside the knob) breaks.
These are replacements. Each of the knobs is slightly different because the electronics for each is different in design.
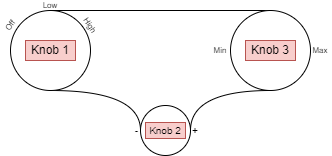
Printing Notes:
- Knobs #1 & #3 are designed to be printed with the base down.
- Knob #2 can be printed either way. However, the shaft is 1mm longer than the knob itself. Printing upside down with auto-generated support is easiest.
- These parts rely on a close fit between the knob, the shaft and the shell of the popper. I suggest trying the calibration print first.
Included Models:
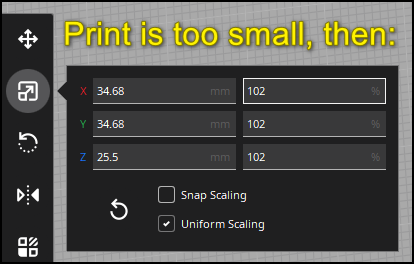
- Calibration-TestPrint.stl - A small slice of the print. Print this first and make sure the parts fit your popper. If it needs to be bigger or smaller, you can scale it inside Cura.
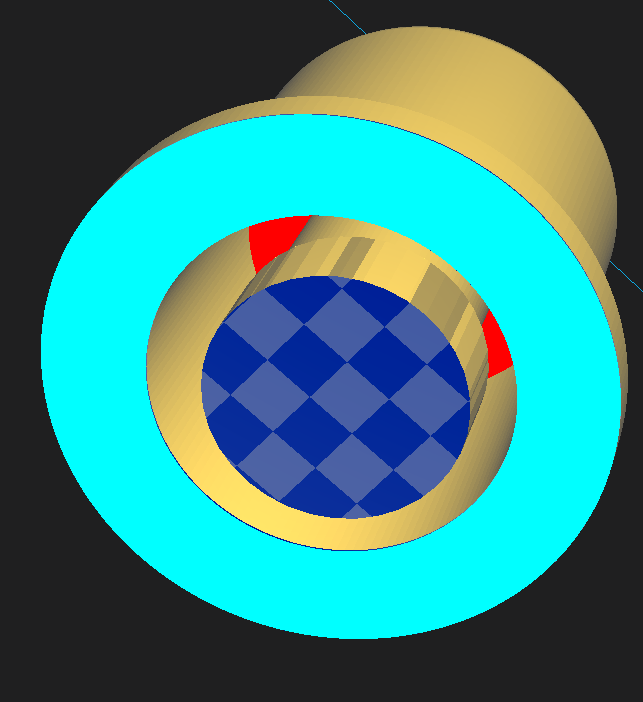
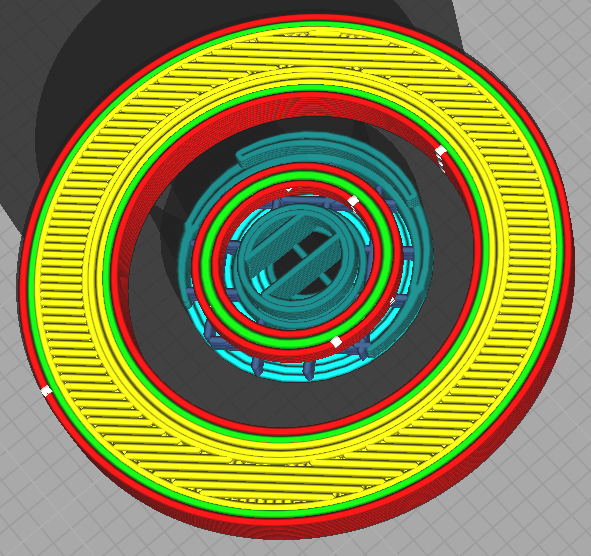
- Knob #1 - The D-Shaft is not flush with the bottom of the knob, it needs a small support placed under it.
- Knob #2 - Either print upside down with support, or place a doughnut-shaped support under the outer ring of the knob.
- Knob #3 - Can be printed without support.
For Knobs #1 & #3: You need to place a small support under the shaft or brim. This can be done in Cura like so:
Calibration:
I include a test print to check that everything fits. This allows you to quickly print it and confirm the fit before printing an entire knob.
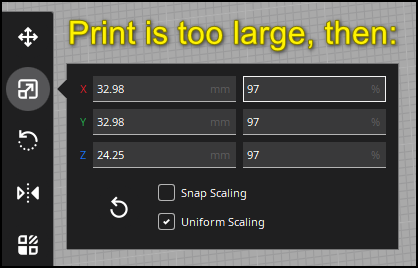
Some printers/materials may require up or downsizing to make it all print at the right size.
For Example (your numbers may vary):
My Settings:
- PLA
- 15% infill
- 0.2 layer height
- Changed filament near the top to allow the arrow to show clearly
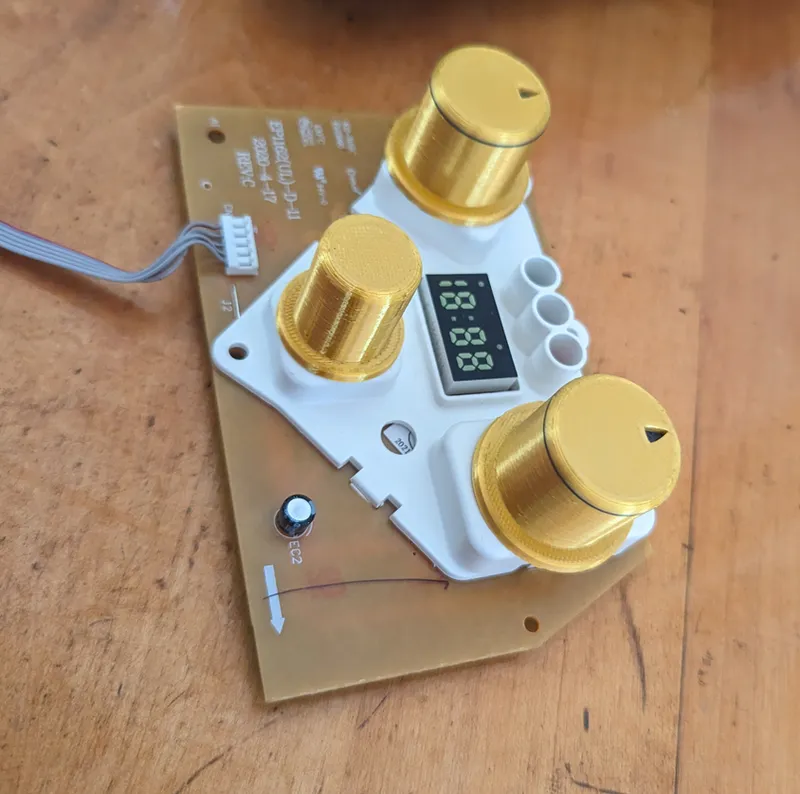
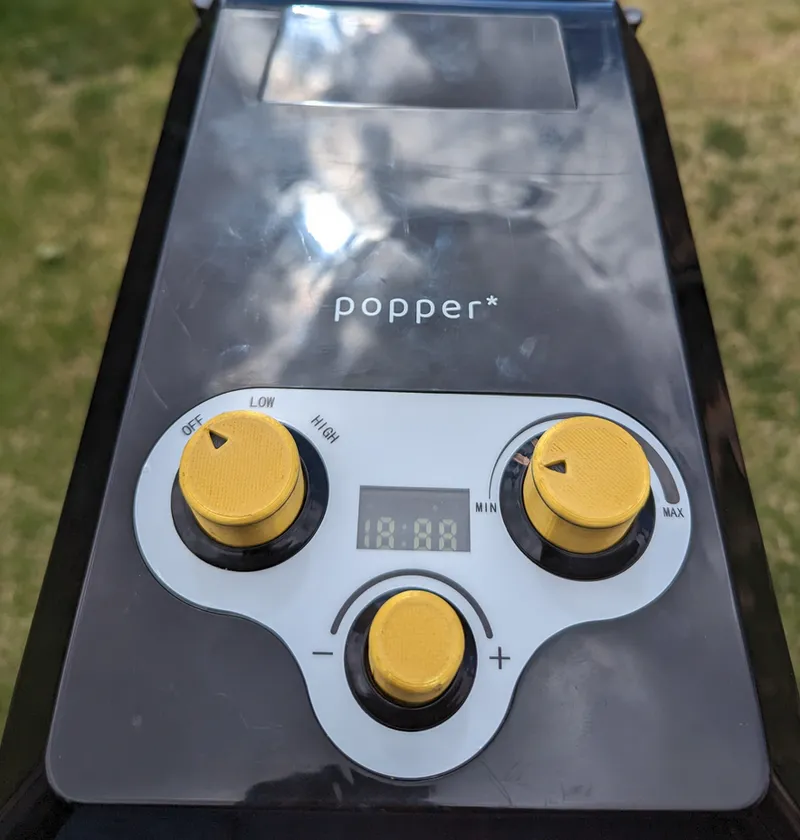
Results:
Tags
Model origin
The author marked this model as their own original creation.