PTFE & Filament cutter Enclosed for use in schools etc
Description
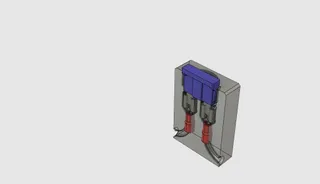
PDFHere's my design for a filament / PTFE tube cutter. It has been designed to be enclosed inorder to keep fingers away from the blade.
There are two designs one with a window so that you can see any marks you have made to cut to and one fully enclosed. (You can still touch the cutting edge of the blade with the window design. )
There are holes (2mm, 4.5mm and 7mm) for different sizes of filament or tube. It also has two holes set at 45 degrees (2mm and 4.5mm) so that you can cut your filament at an angle.
To print I used 4 perimeters and 10% infill. The holes are designed to be cleared out with a drill after assembly.
I used a torsion spring with a wire diameter of 1.2mm coil diameter OD. 5.5m m and 5 turns 6mm high.
you will also need:
a utility knife (Stanley knife) blade
self tapping screw 2.5mm or 3mm diameter, 5mm long I used one with a built in washer.
2 x M3 socket cap bolts 18mm long and 2 M3 nuts
update 9/12/22
On the original design I have made th wall between the bolt head and the spring thicker.
I have also added parts to work with the springs found in some cloths pegs. the torsion spring from the peg is 5.5mm diameter 12mm high 22mm long (although the legs will need cutting down to size still.) using wire 0.8mm thick.
To build:
print the "PTFE cutter Arm" and the "PTFE cutter body 1" and either “PTFE cutter body 2A” for the fully enclosed design or “PTFE cutter body 2B” for the version with a window. 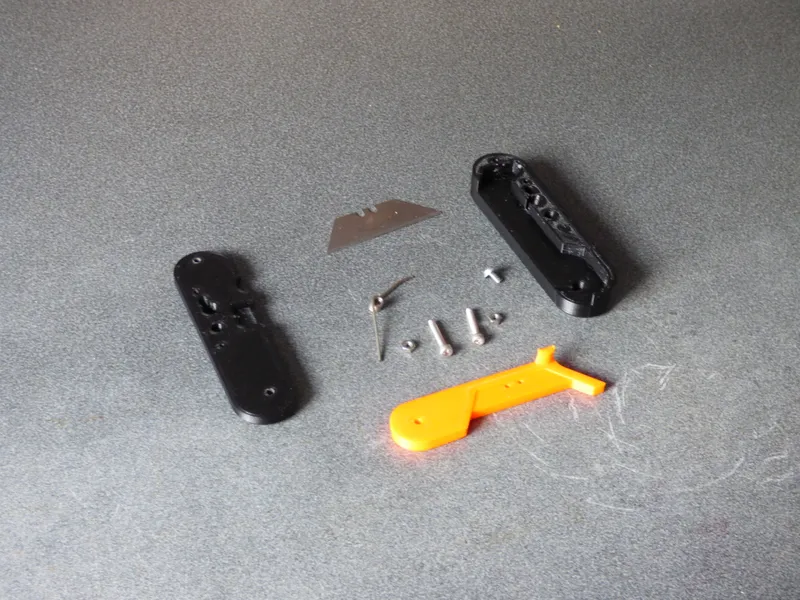
Put the M3 bolts through the main body, this will make it easier to measure the spring and trim the legs as necessary
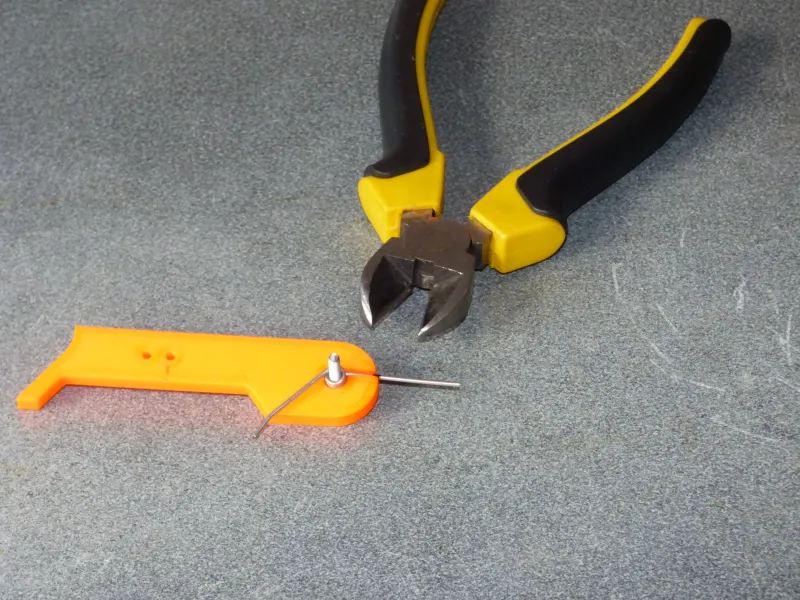
Secure the blade on to the arm using the self tapping screw.
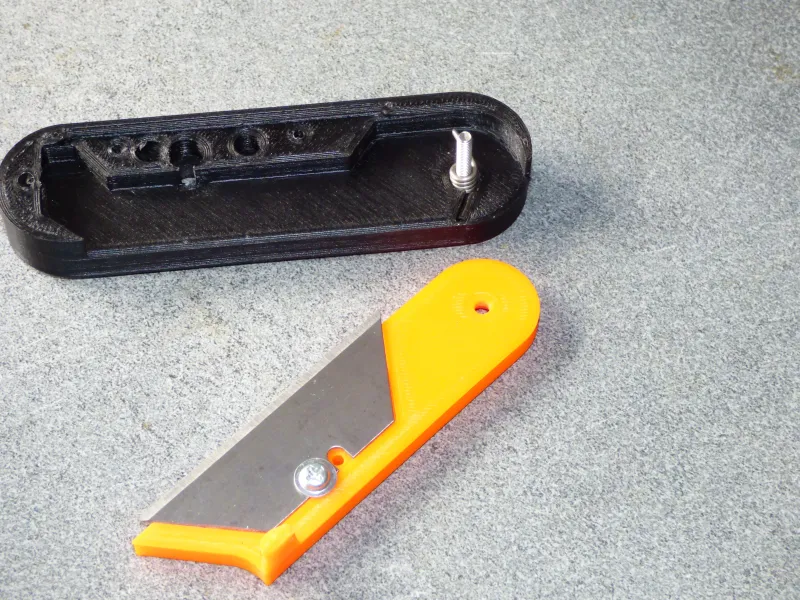
Place the arm over it's bolt and locate the spring, then move the arm in to position in the body compressing the spring. if it is fitted correctly the spring should be pushing the arm to he up position, like a hole punch or stapler does.
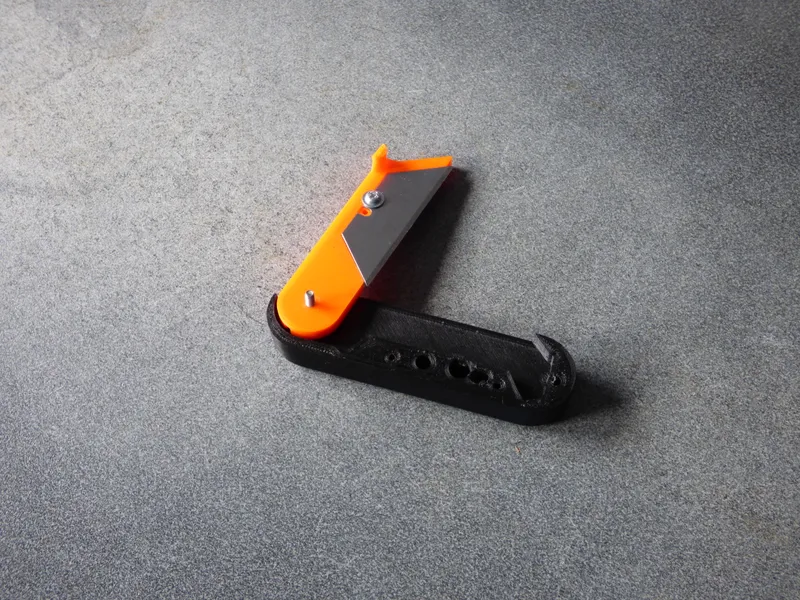
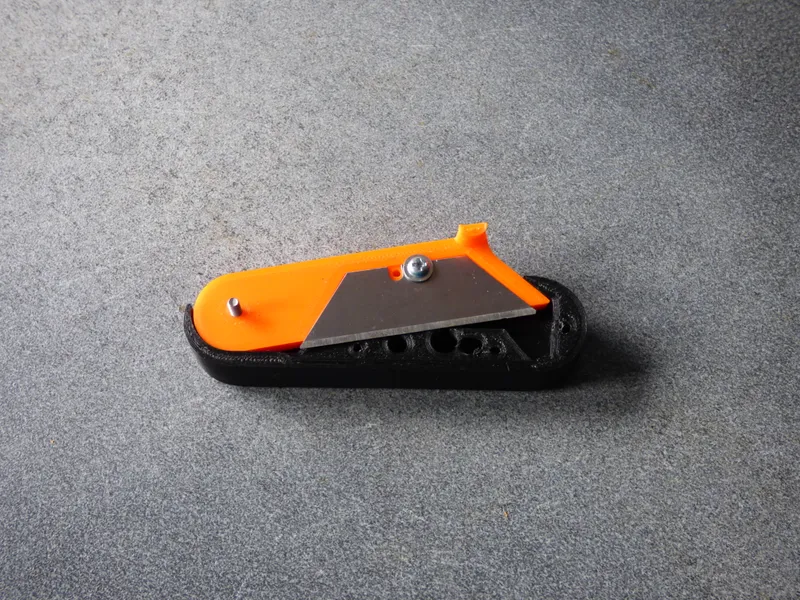
finally add the nuts to the final part and screw down. Tightening the bolt right down it will seat the nuts in their correct position. the holes on the “PTFE cutter body 2x” is designed to be tight so that the bolt cuts it's own thread and acts alittle like a nyloc nut.
If the arm does not now spring back slacken off the bolt at the hinge end just enough for the spring to work.
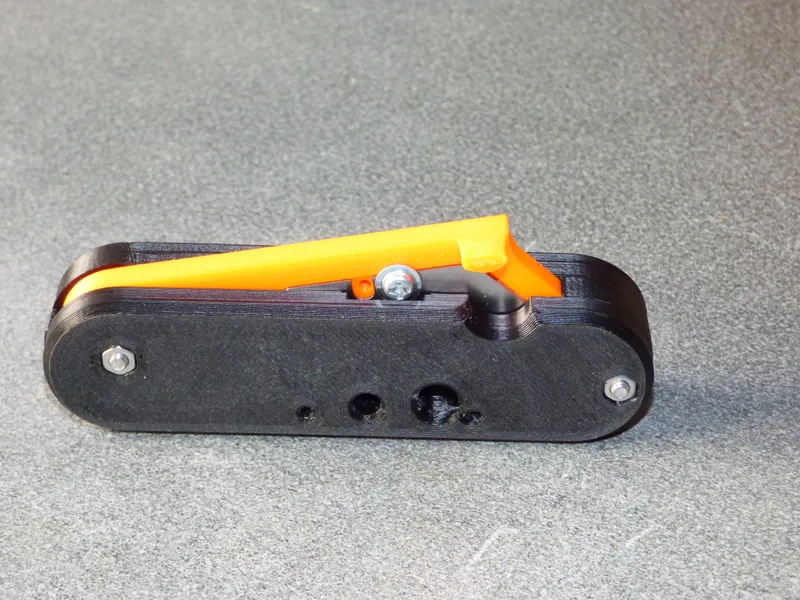
If you wish to add magnets so that the cutter can be stored on a metal surface this is easily achievable in Prusa slicer.
I used magnets which measured 9mm X 6mm X 2.5mm. So I created a negative volume adjuster slightly bigger than my magnets 9.5mm X 6.5mm X 3mm and located my volume adjuster 0.5mm up from the bottom surface.
Next slice the file and when in the preview window, locate the layer just above my void and add a pause in to the Gcode. This will add a pause at the beginning of the layer above the space for the magnet.
Tags
Model origin
The author marked this model as their own original creation.

