Samla filament drybox
A filament drybox idea I had using an IKEA Samla box as the container to house four spools of filament.
169
581
7
5736
updated July 27, 2023
Description
PDFSeveral 3d printing filaments are hygroscopic, meaning they absorb moisture from the surroundings which can lead to poor surface finish and a clogged nozzle. Depending on where you live and what material you are printing with, moisture might not be that big of a problem. Dust however can also lead to poor surface finish and can result in a clogged nozzle.
You should always keep your filament dry and free of dust for a trouble free printing experience.
This filament drybox can contain up to four rolls of filament.
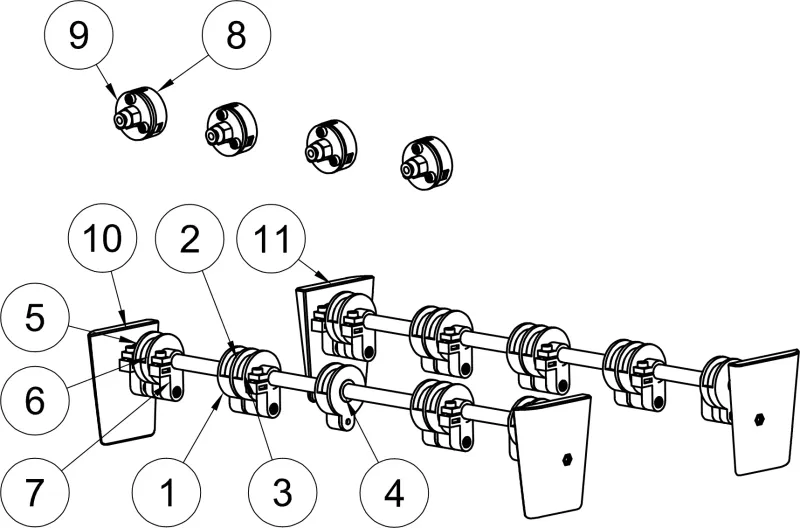
Printed parts needed to make this
|  |
Other parts needed
- 16 x Bearing 608-2Z
- 26 x Square nut DIN 562 M3
- 14 x Hex nut DIN 934 M3
- 14 x Screw DIN 912 8 mm M3
- 16 x Screw DIN 912 10 mm M3
- 4 x Screw DIN 912 16 mm M3
- 6 x Screw DIN 912 25 mm M3
- 4 x PC4-M6 fittings
- 4 x PC4-M10 fittings
- 2 x Aluminum rod Ø8 mm
- 200 g Silica Gel regenerable
- 10 m PTFE tube 4 mm
- 1,3 m Rubber seal
- 1 x IKEA Samla Box with lid 798.508.75
- 1 x IKEA Samla Clips 202.934.55
Assembly instructions
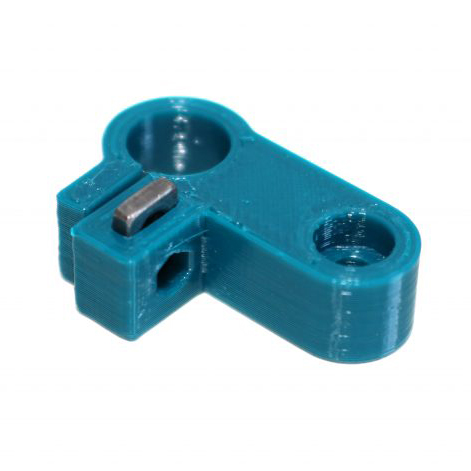 | 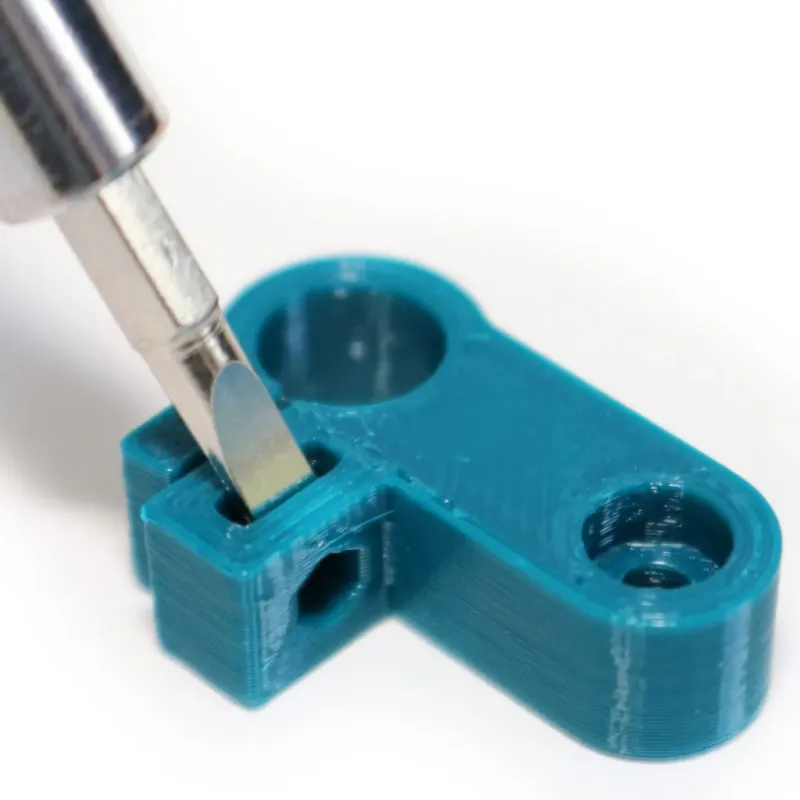 | Start by inserting all the square nuts. Make sure there are no obstacles and that they are pushed all the way down. Use a small allen key or a flat head screwdriver. |
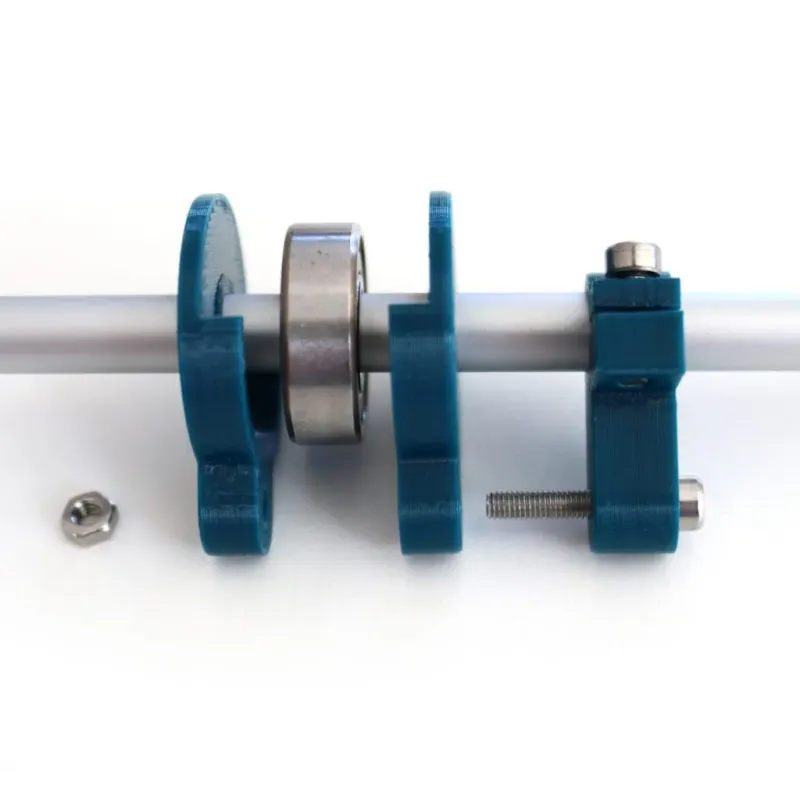 | 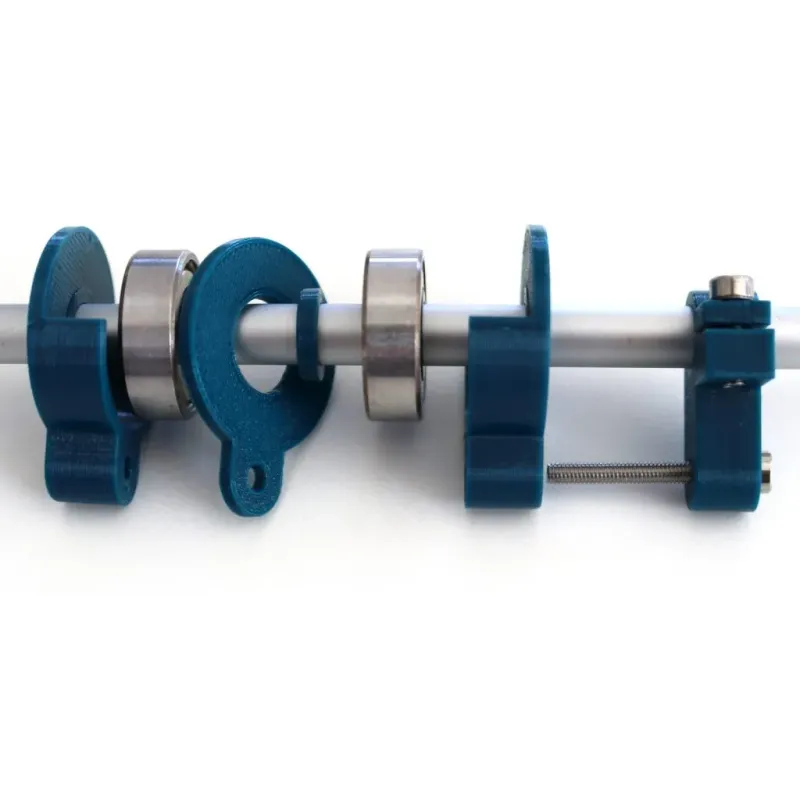 | Assemble the bearings by pushing the pieces on to the aluminum rod. For the single bearings use a “BearingWasher-Left” followed by the bearing and then a “BearingWasherRight” and finally the “Clamp” and a 16 mm screw and a hex nut. Use a 25 mm screw for the “Double” and there is also a “Middle” and a “Spacer” between the two bearings. |
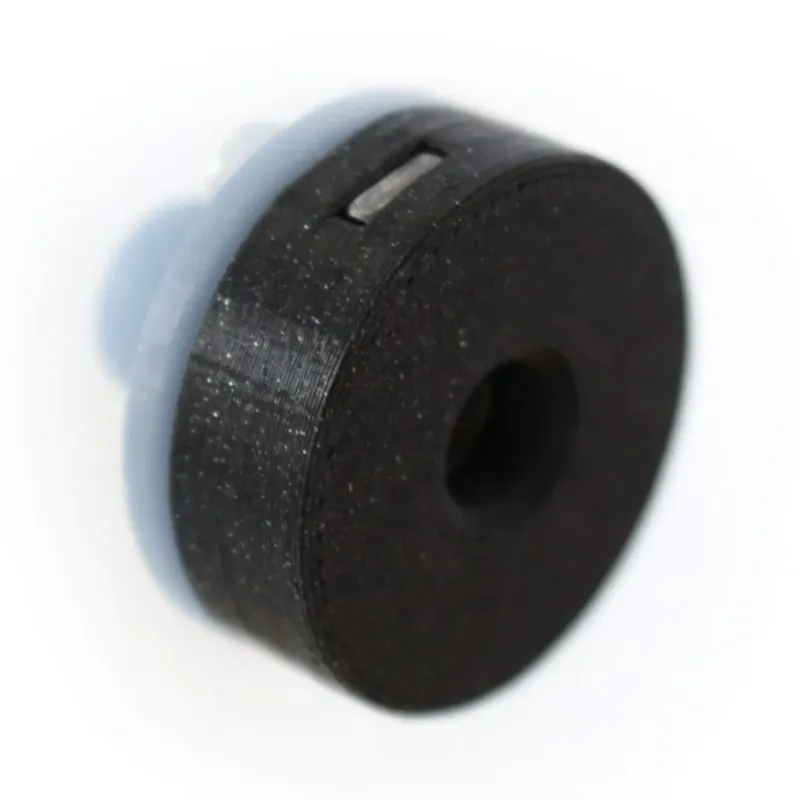 | 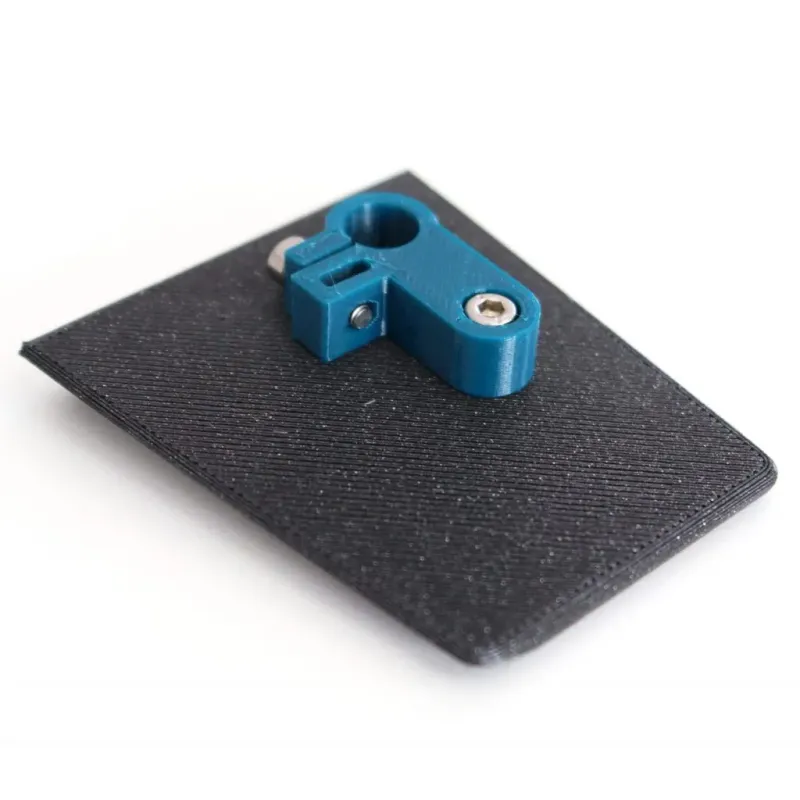 | Drill holes for the “NozzleBrackets” using the template and mount the nozzlebrackets using 10 mm screws. Mount clamps on the “RodHolders” using a 10 mm screw and a hex nut and assemble them on the ends of the rods. Be sure not to tighten the clamps fully just yet. |
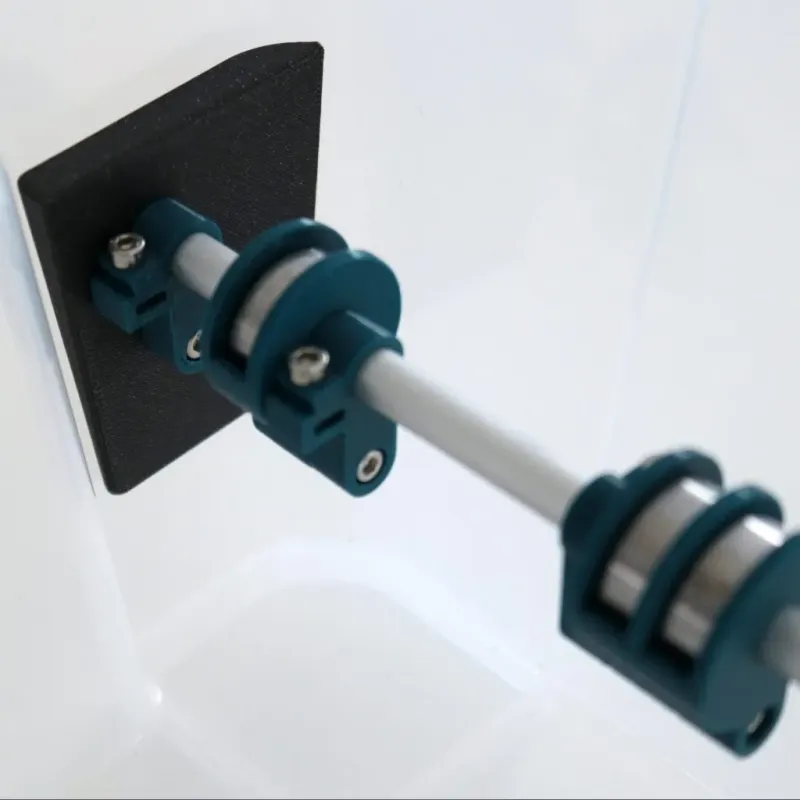 | 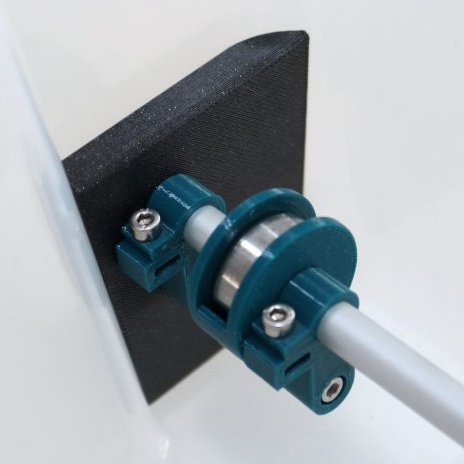 | Insert the assembled parts into the box and be sure to pull out the “RodHolders” just a little bit so that the assembly get stuck a little bit above the bottom of the box. Now gently push the assembly all the way to the bottom for a snug fit and tighten the clamps using 8 mm screws. |
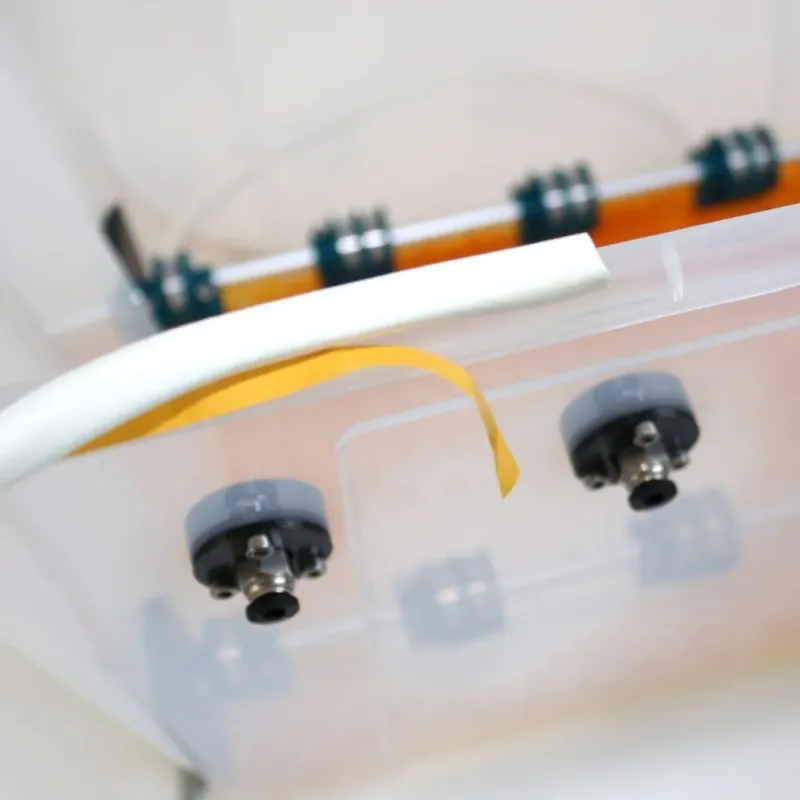 | 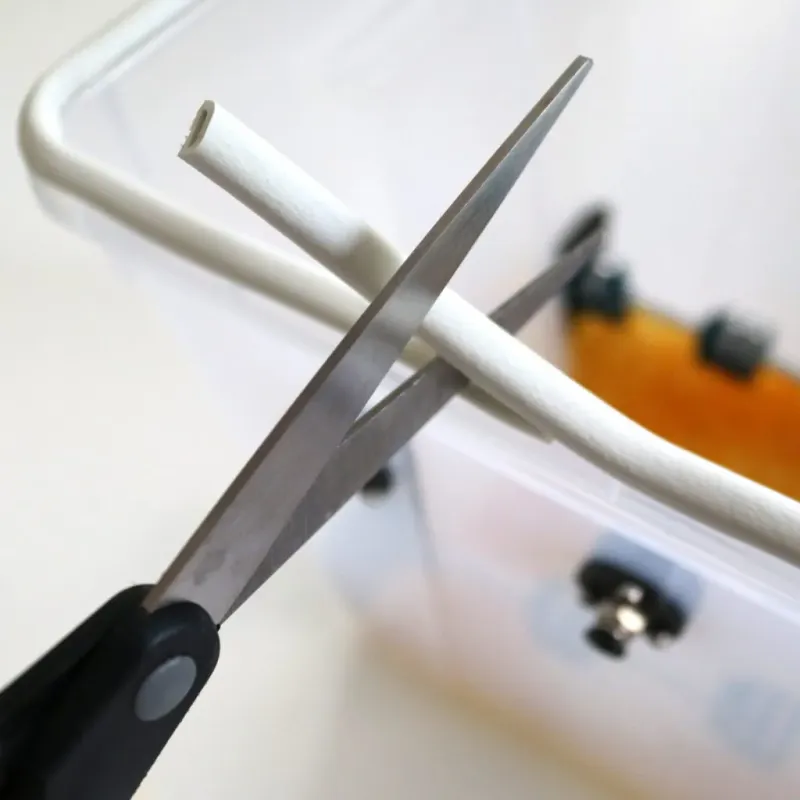 | Assemble the seal by removing the protective foil and following the top of the box all the way around. Cut the seal just a millimeter or so to long and bend it down so the two ends meet perfectly before fixating the last cm of seal by pressing it firmly against the box. |
 | 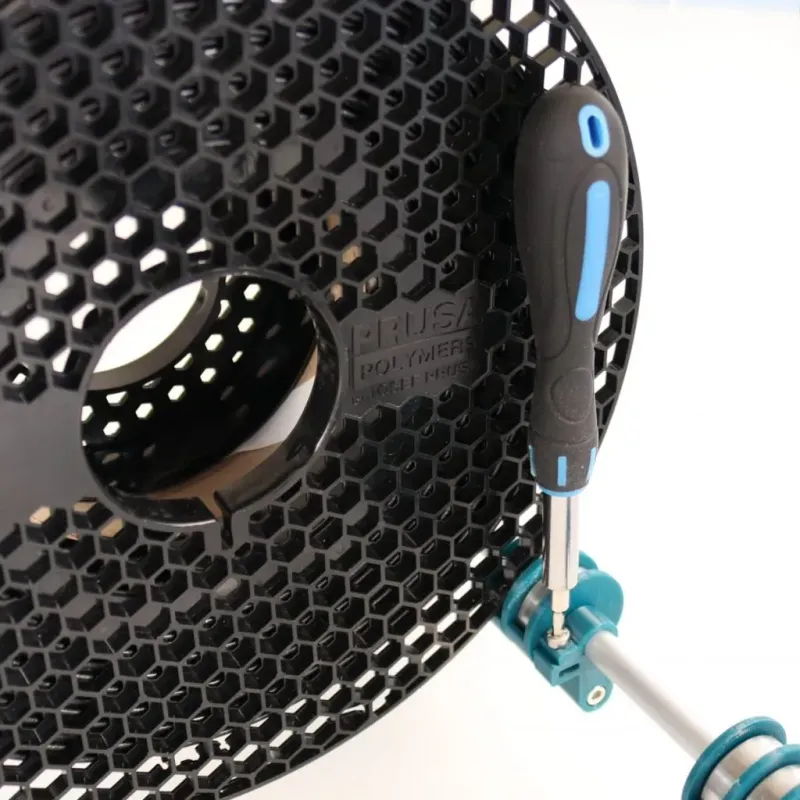 | Adjust the position of the bearing holders to fit your spools width and tighten them with the 8 mm long screws. |
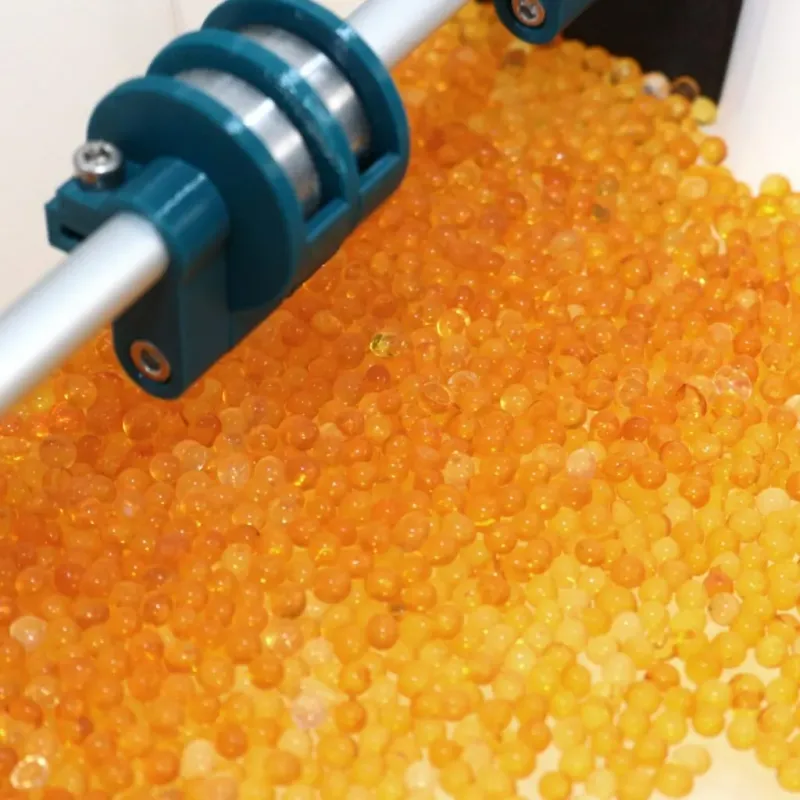 | 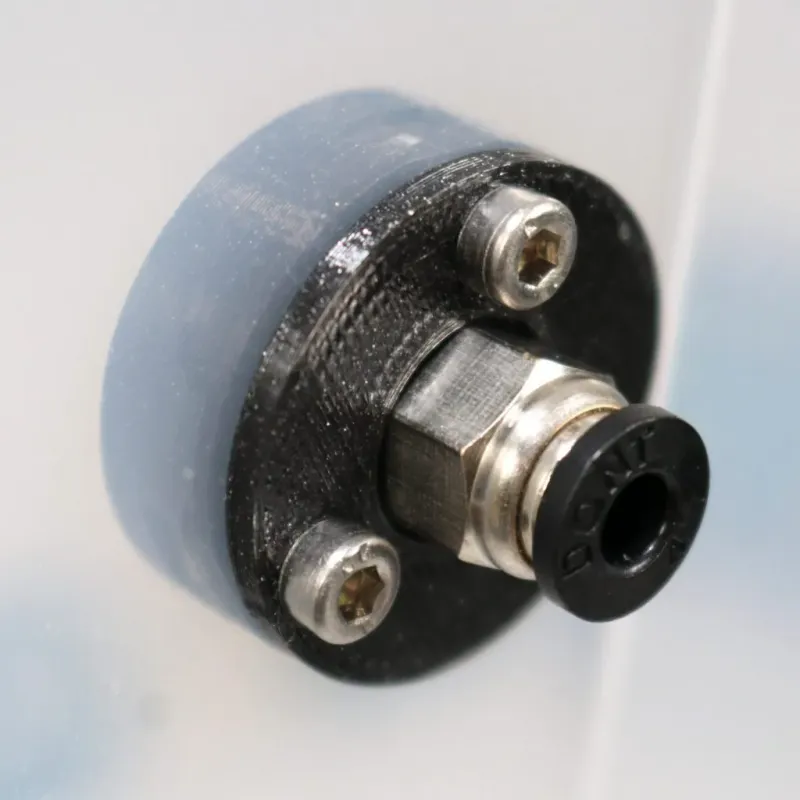 | Fill the box with silica gel and mount the M10 tube fittings and the PTFE tubing and you are ready to go! |
I also included a .step file so you can make your own modifications with ease.
Tags
Model origin
The author marked this model as their own original creation.

